Time to Print!
It’s been a while since the last update, and I have been, unfortunately, pretty bad at documenting my progress. So this post won’t be as in depth as others, but at least it’s got some pretty pictures!
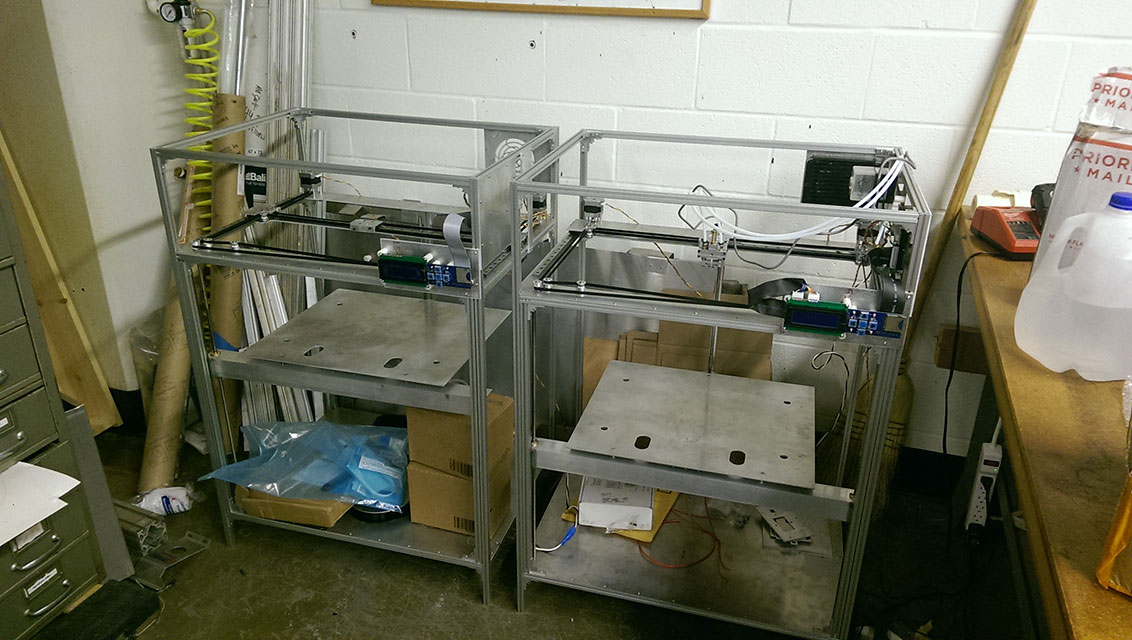
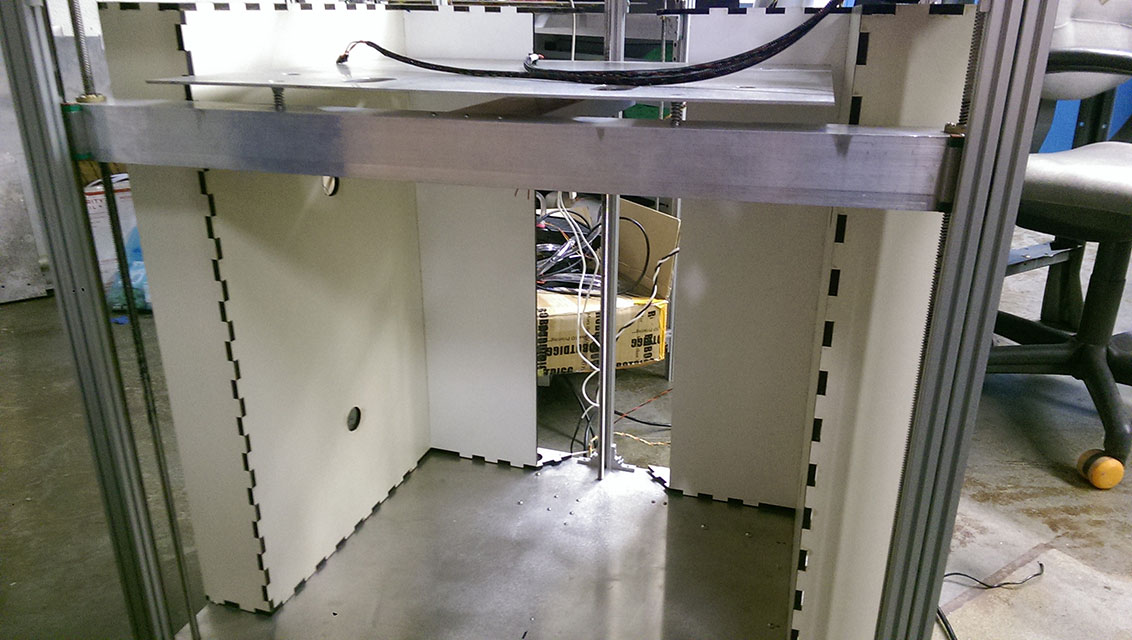
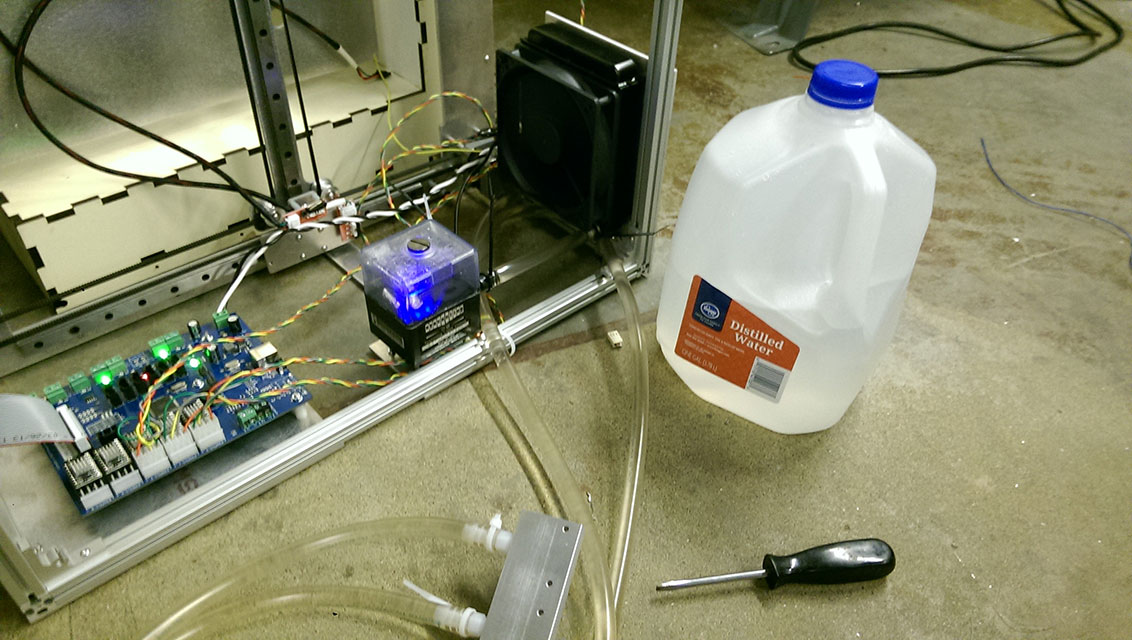
We last left our heroes at this point:
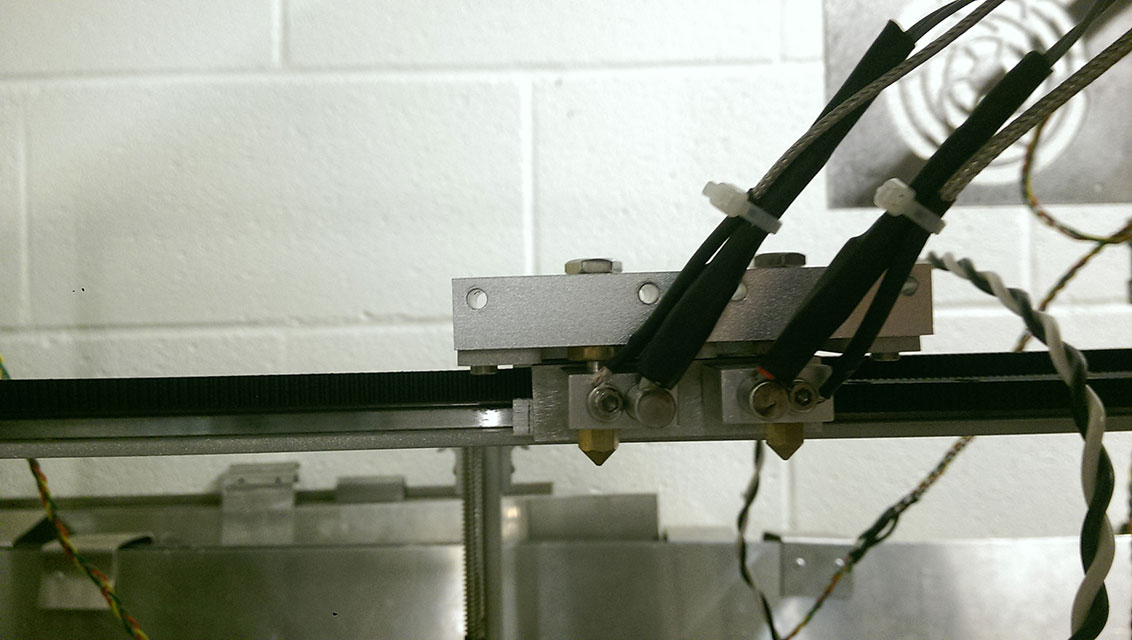
 Lots has changed! I put on some hot ends:
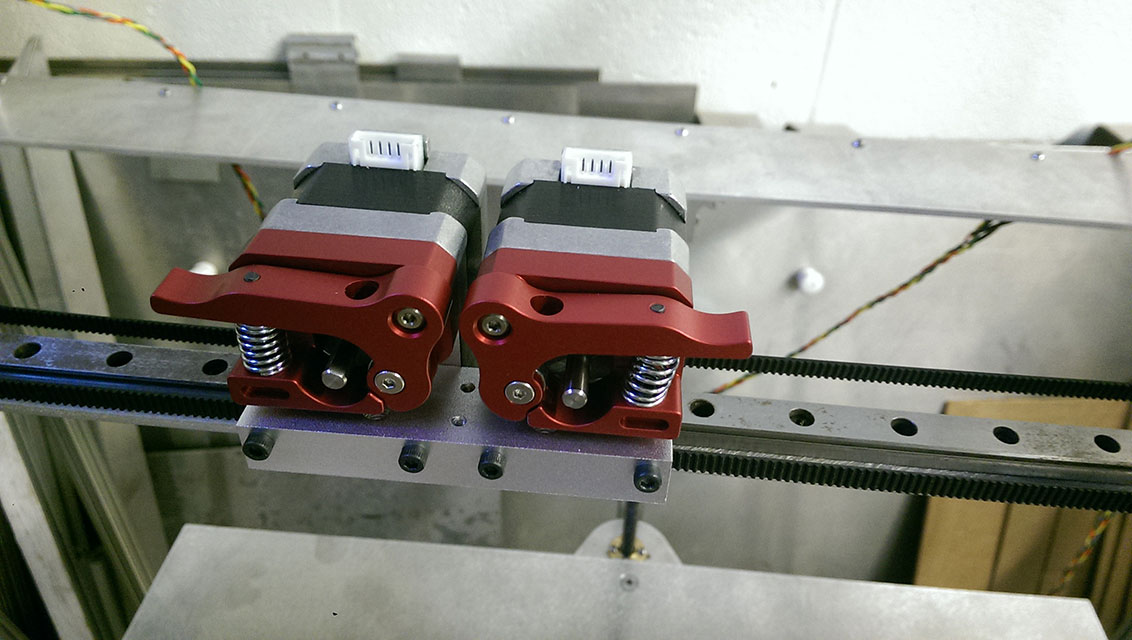
 As well as picked up some super fancy all metal direct drive extruders:
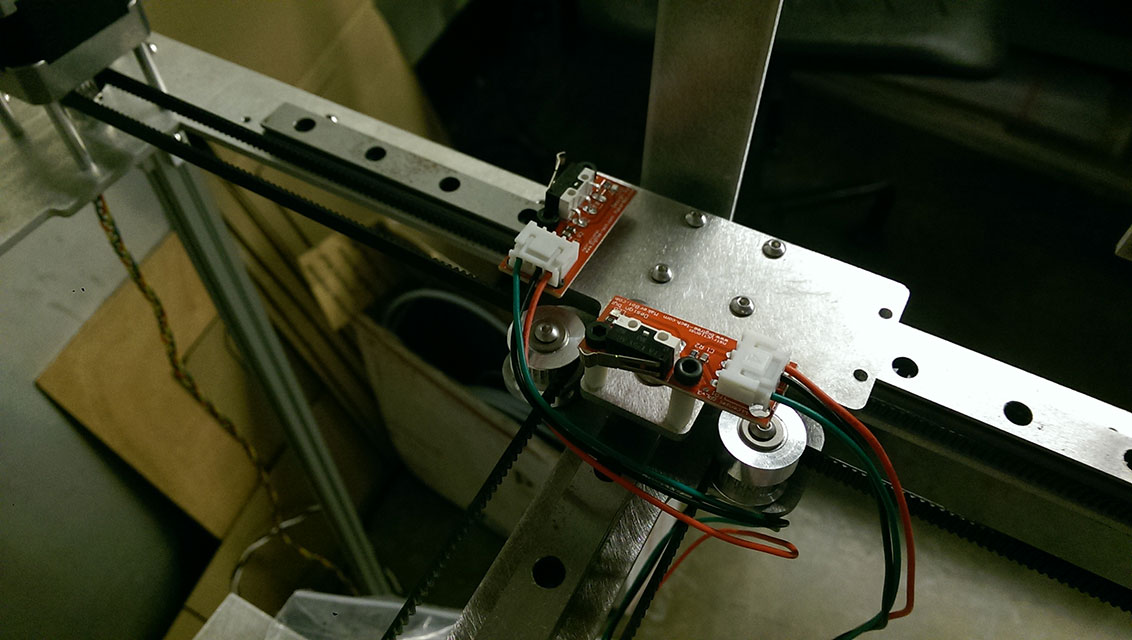
 We mounted some endstops:
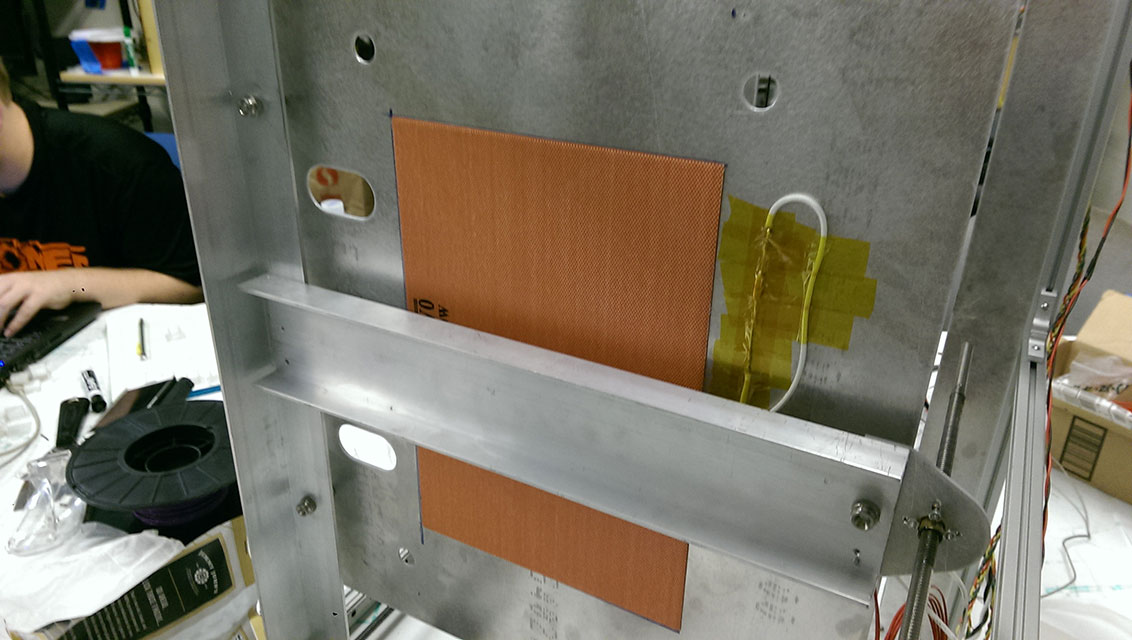
 I also ended up putting the heated bed into place.
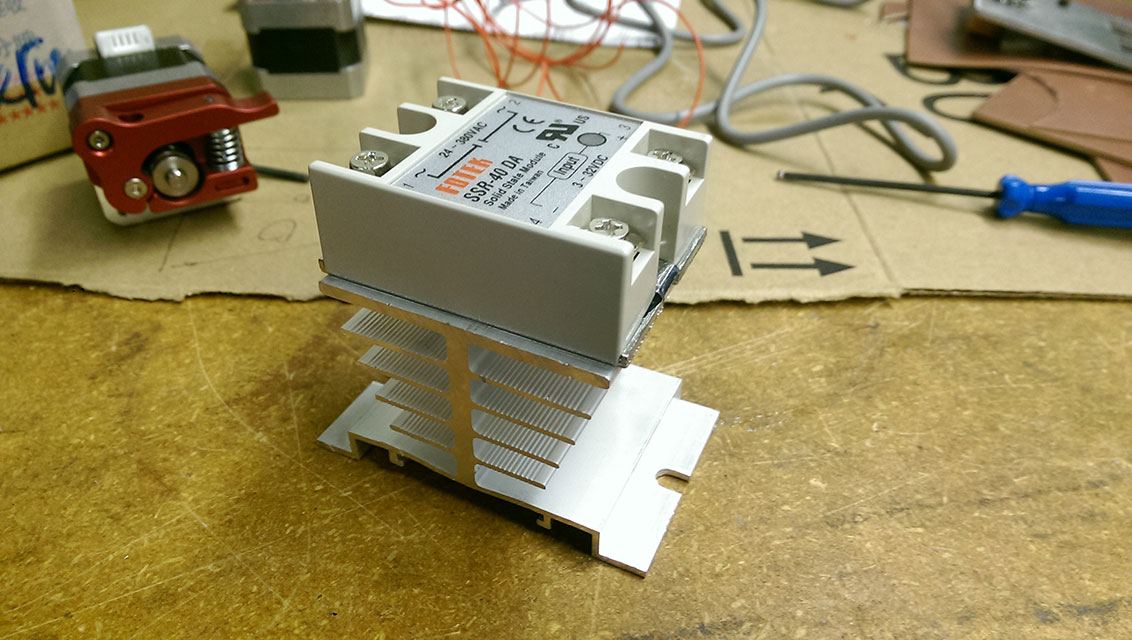
 The relay that will drive it is mounted to a sizeable heatsink:
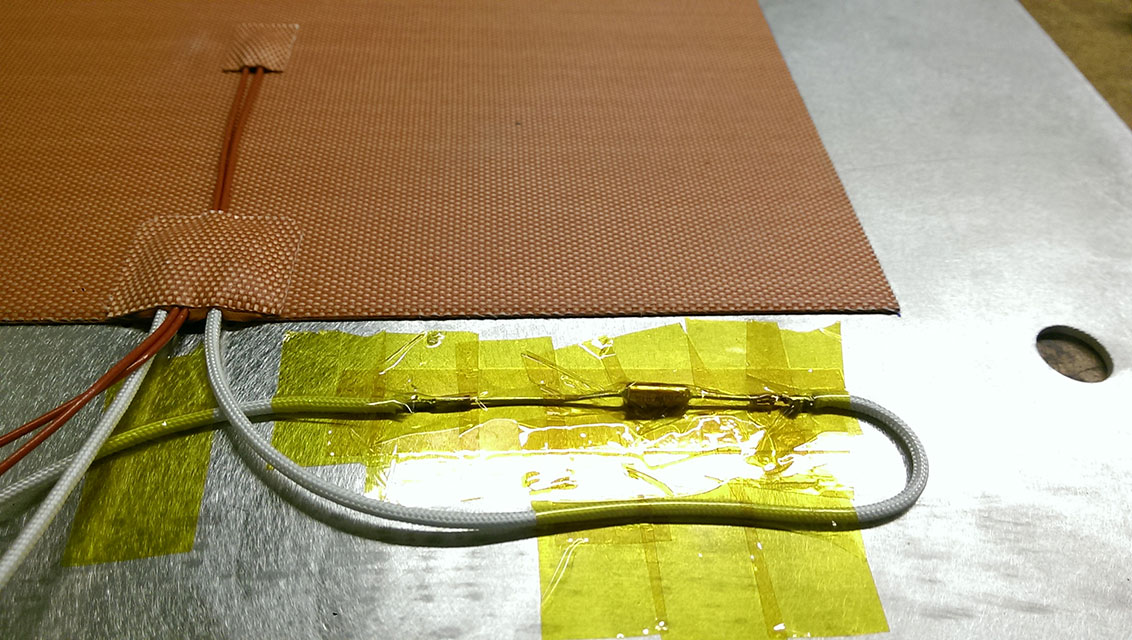
 And we affixed a thermal fuse to it for safety!
 The heater doesn’t cover the whole bed, but I’m counting on the aluminum spreading the heat evenly enough to compensate.
 We also fabbed up some structures that hold filament. Laser cut melamine is much easier to work with than waterjet aluminum!
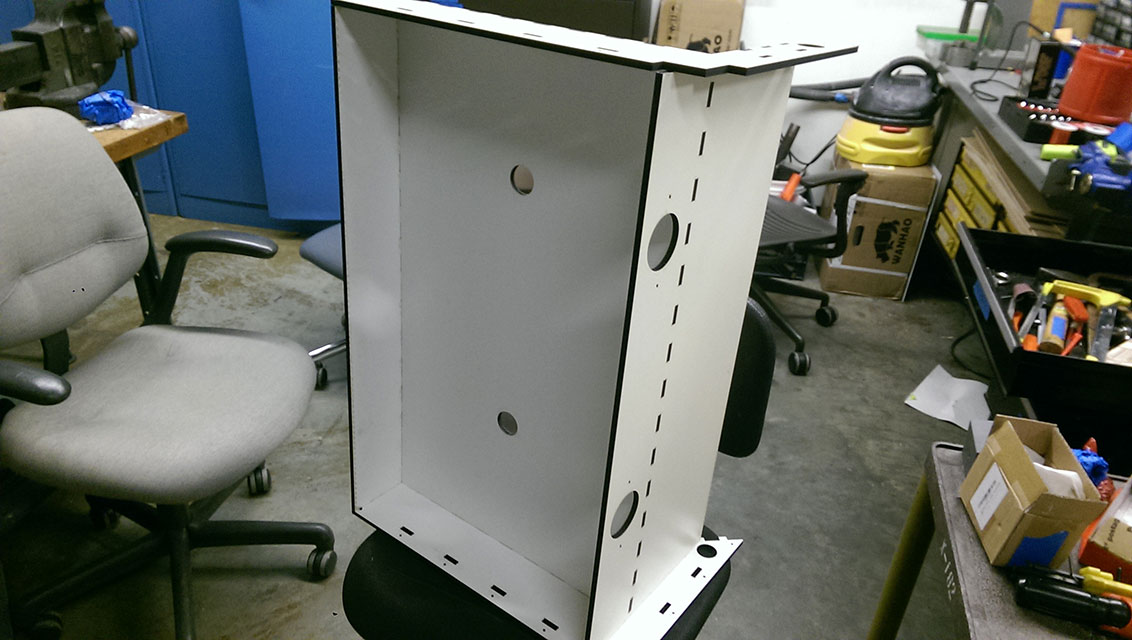 The two boxes sit nicely, framing our Z axis.
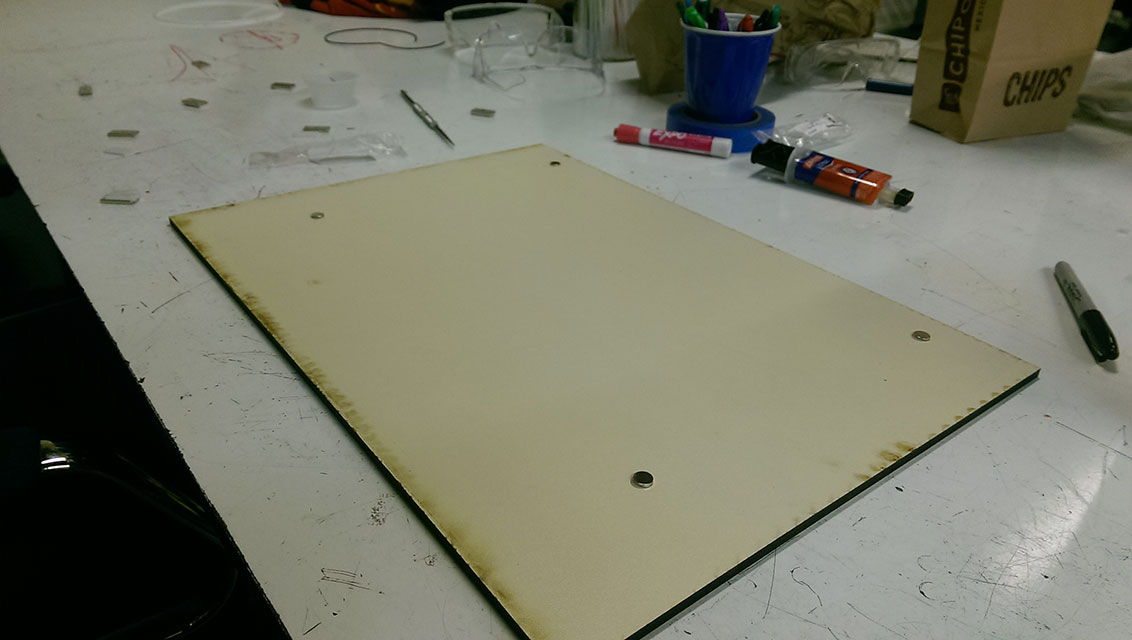
 Now I needed to fab up my water block to cool my hot ends:
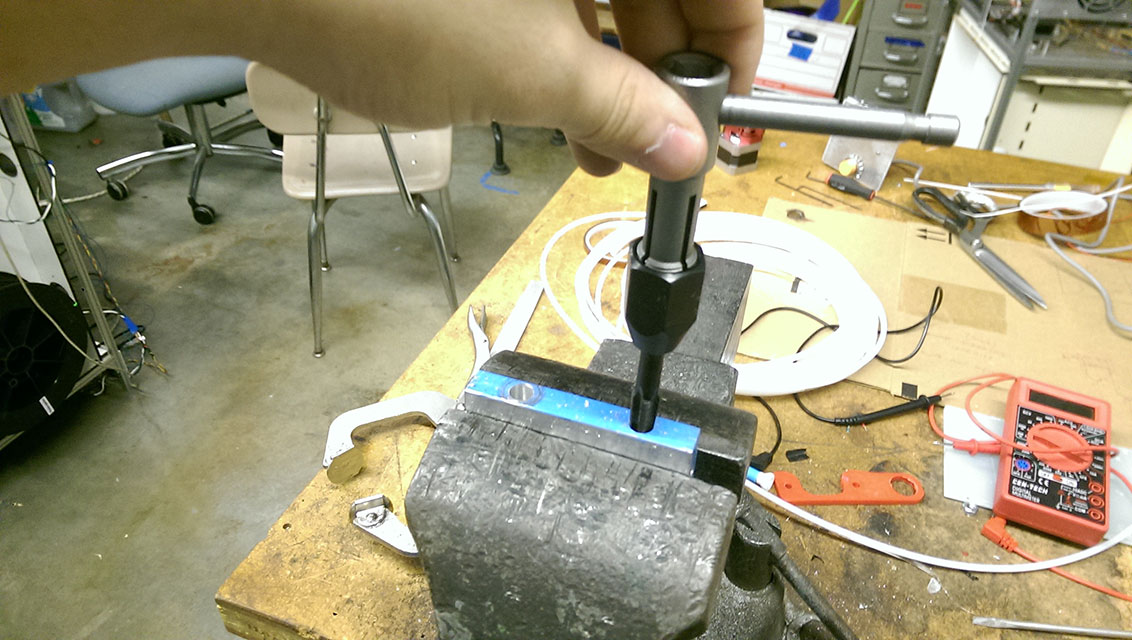
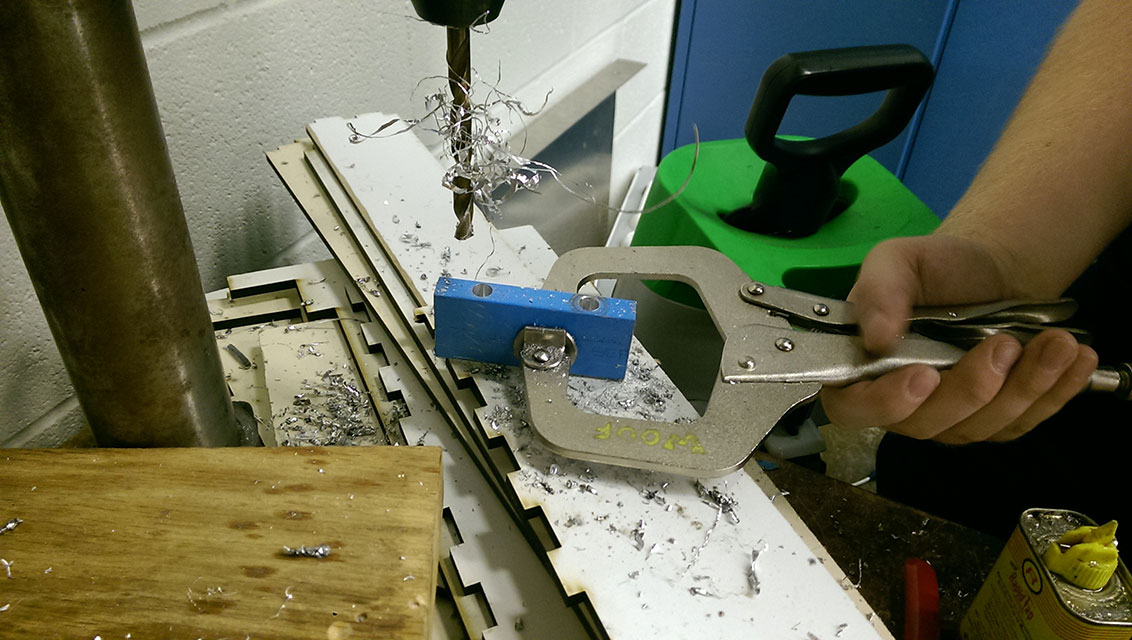 Holes were drilled, then tapped:
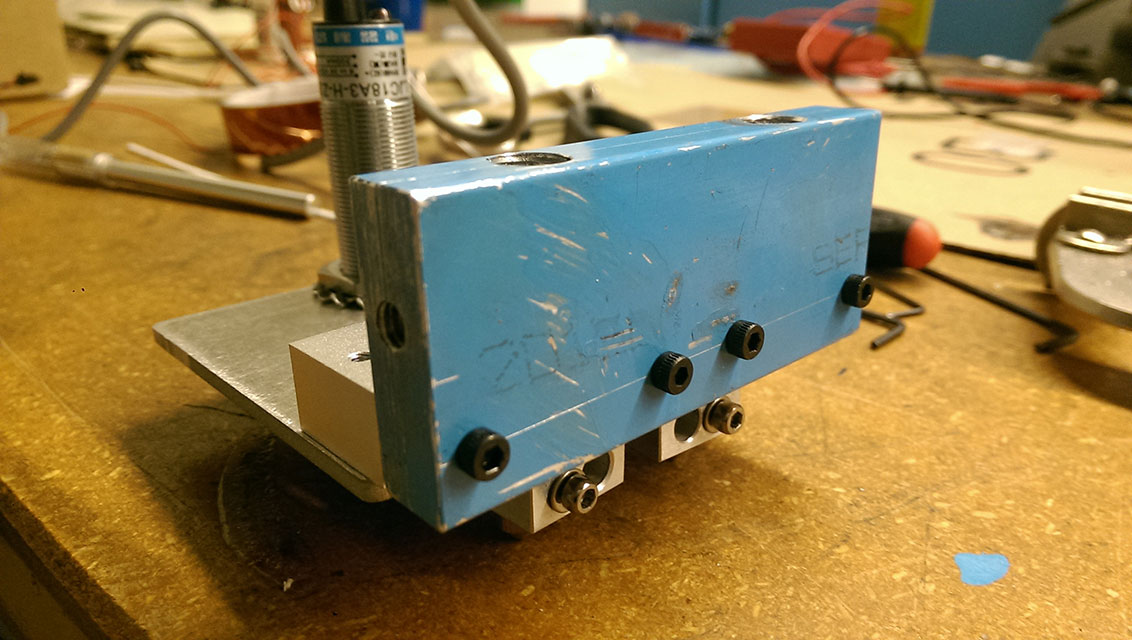
 And amazingly, it all fit perfectly on the first try!
 Now was the nerve wracking part – actually putting water into the system! We laid the loop out in a way that was least likely to fry the electronics in case of a leak, and let it run for 24 hours. All was dry!
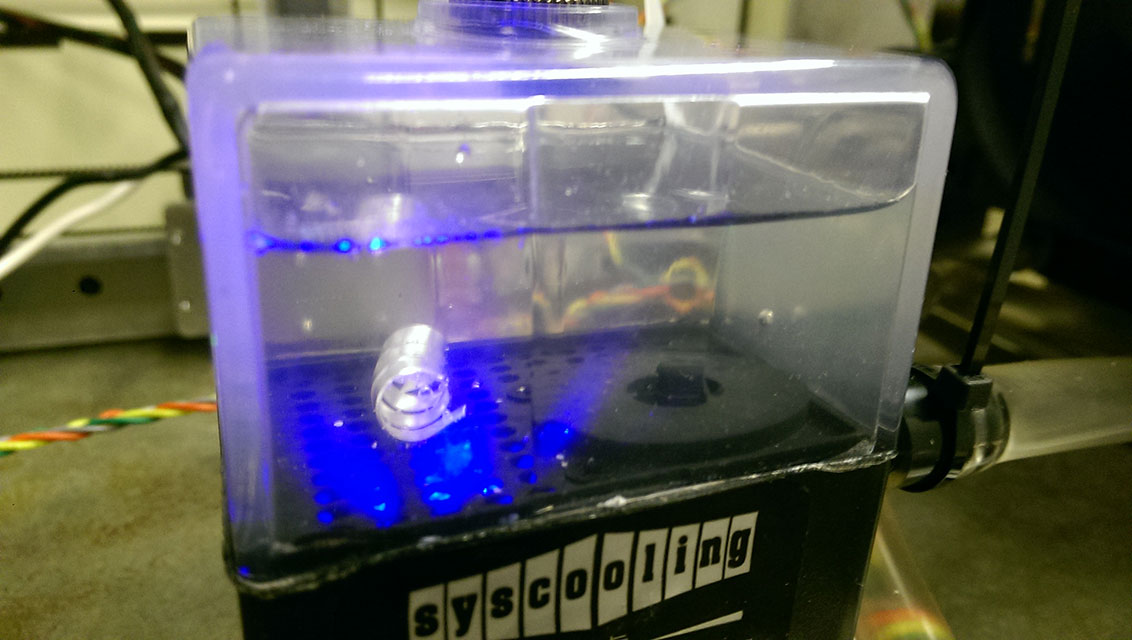
 To prevent growth in the loop, we added a antimicrobial silver coil to the reservoir:
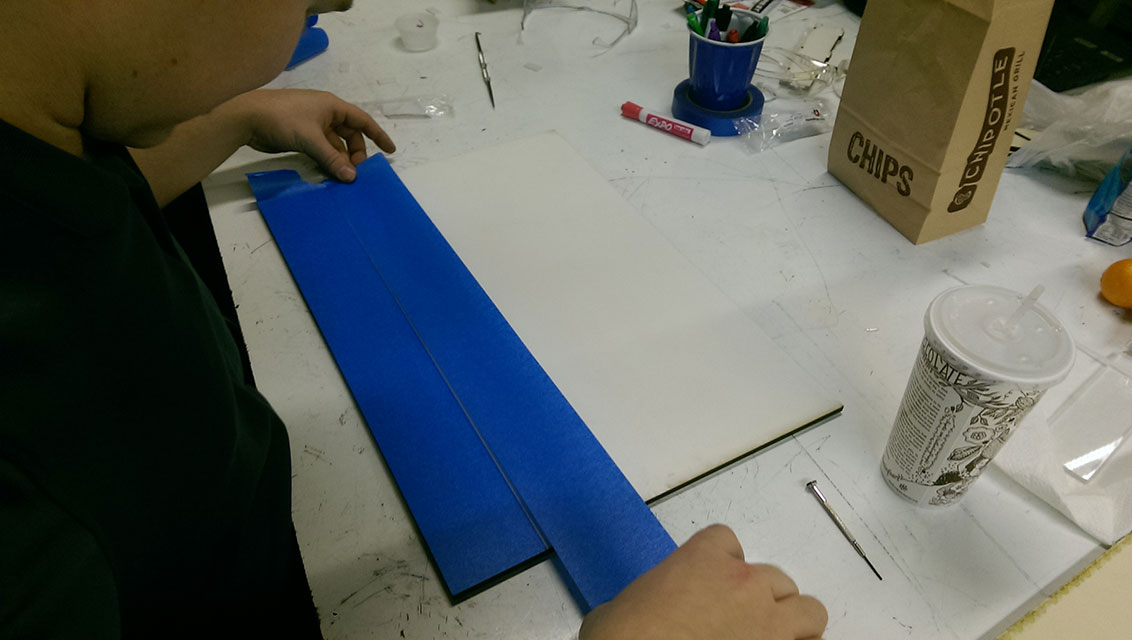
 We laser cut some melamine to act as a temporary bed, and taped it up:
 Now we had what looks like a real printer!
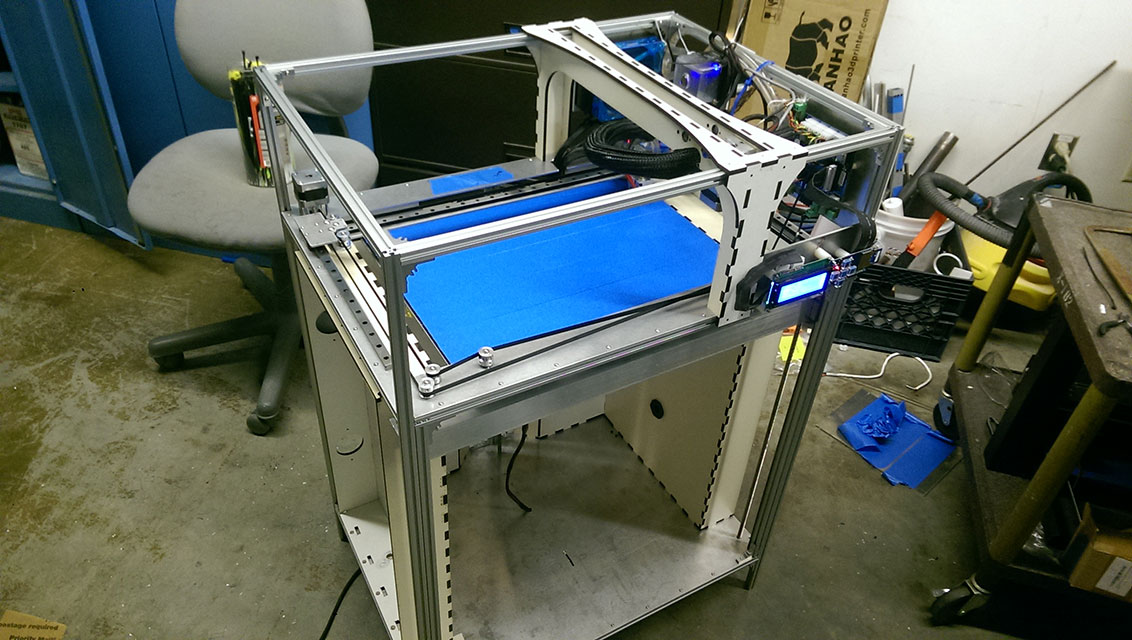 After some preliminary calibration (which wasn’t too bad, since most of my motors closely match MakerBot’s setup), I printed my first “real” print:
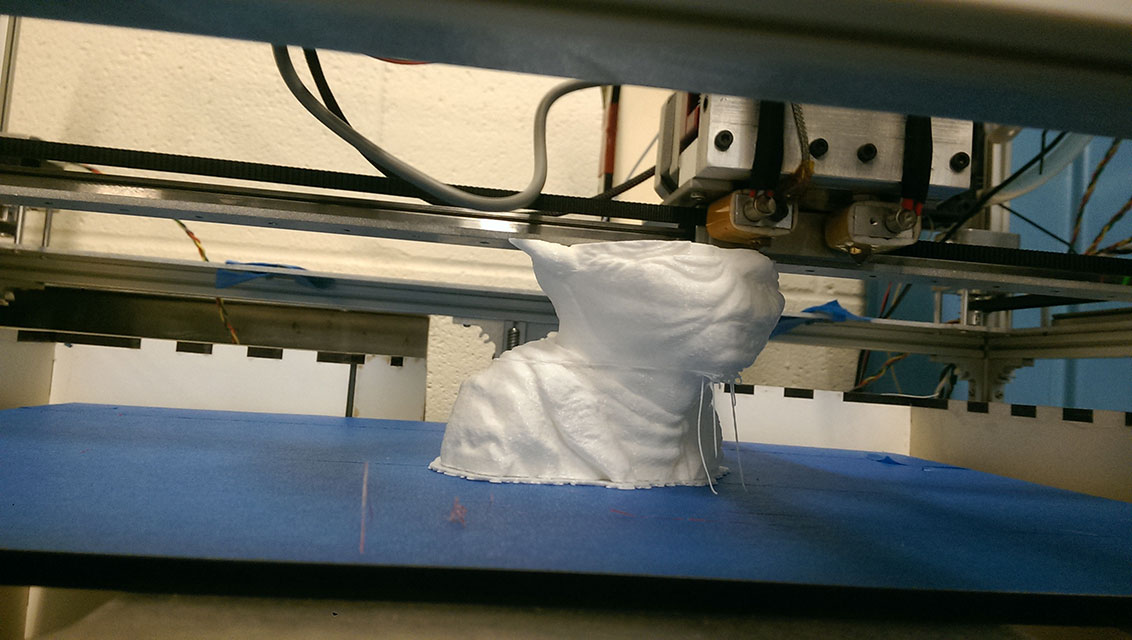 Yoda’s got a few chin hairs, but overall it was a big success!
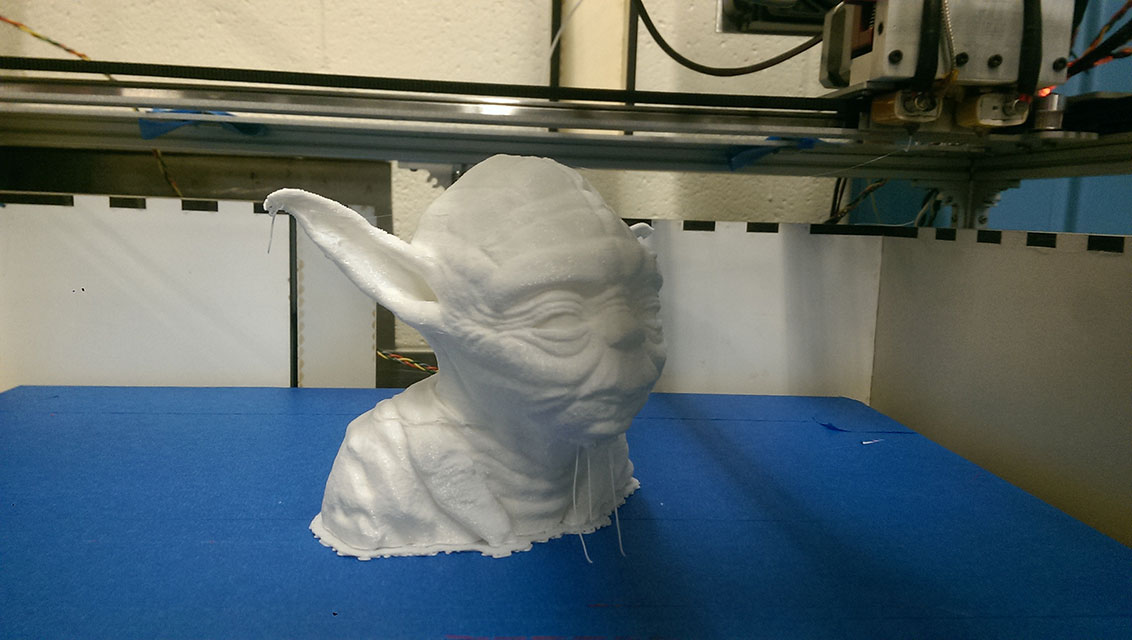 But wait… that’s only one color! I’ve been working to calibrate the second nozzle, but we’ll save that for the next post…
Stay tuned!
Let me know what you think of this article on twitter @AchillePomeroy or leave a comment below!