ConfinedXY Build Photos
Having a 3D model of a printer design is nice, but no one knows if its just a pipe dream or reality! Fortunately for me, ConfinedXY is definitely a reality.
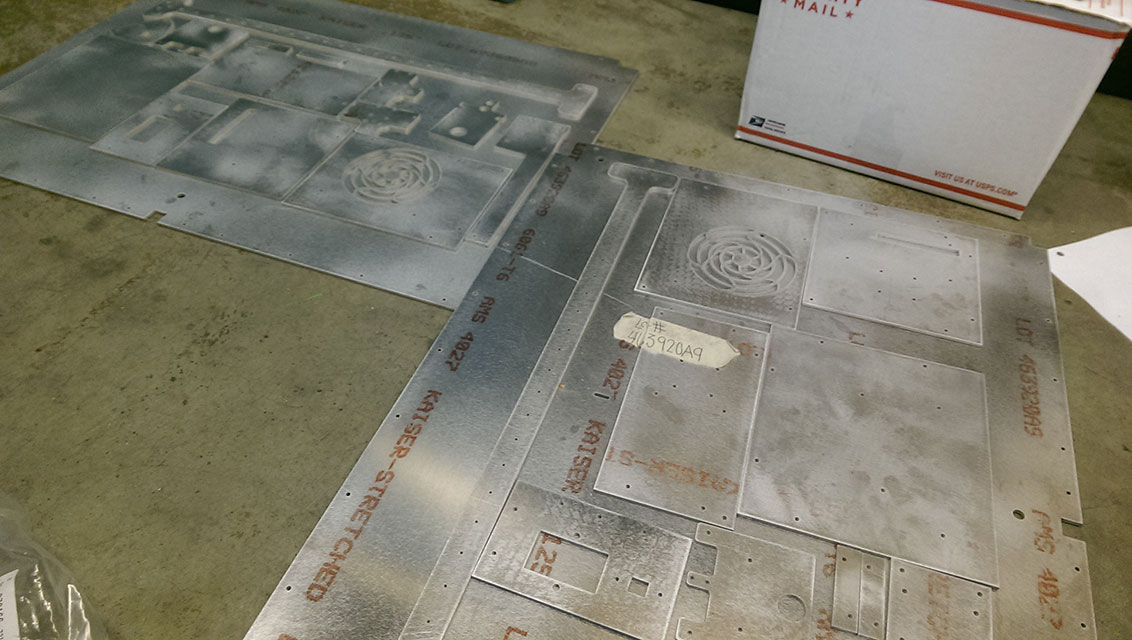
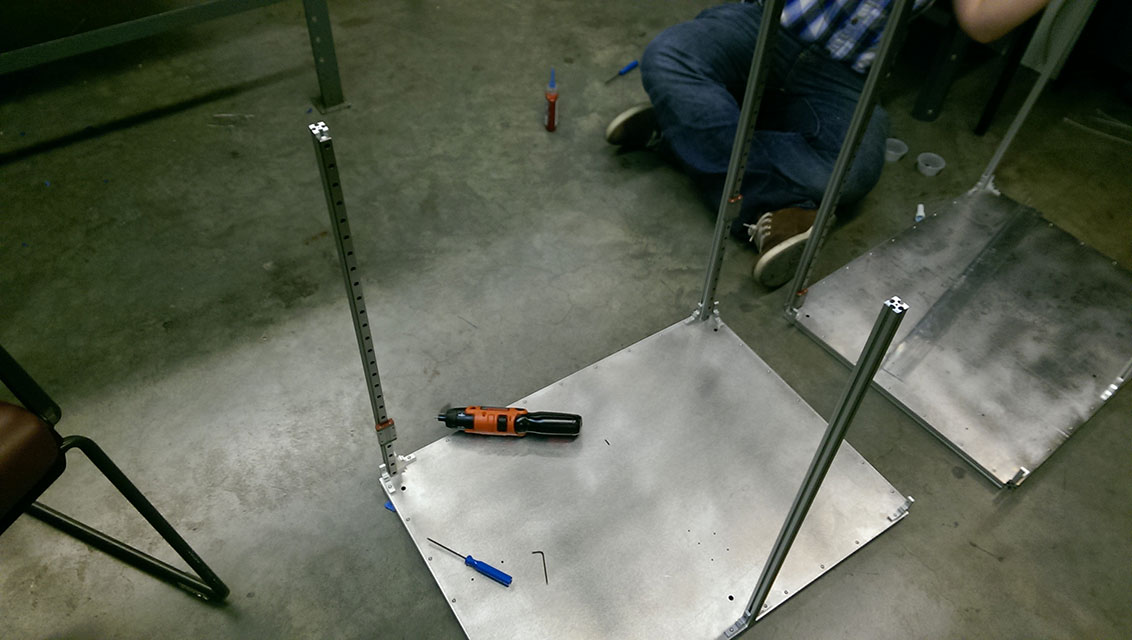
First step to building this bot was getting the aluminum 1/8” sheet water jet.
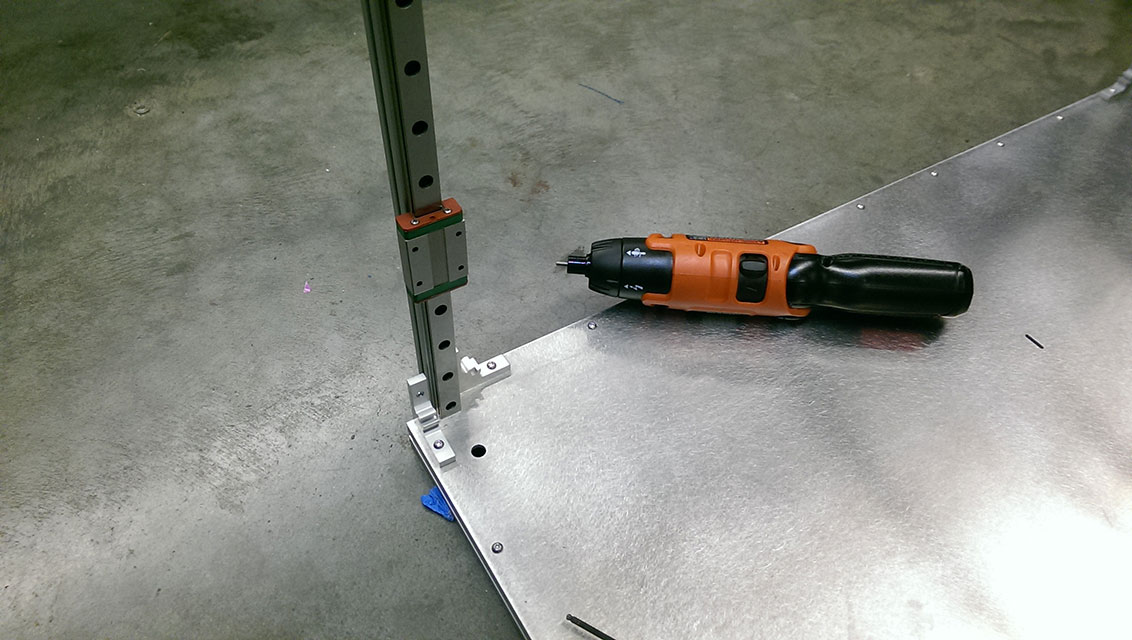
Next we screwed the gantry’s outer frame to its corresponding 1515.
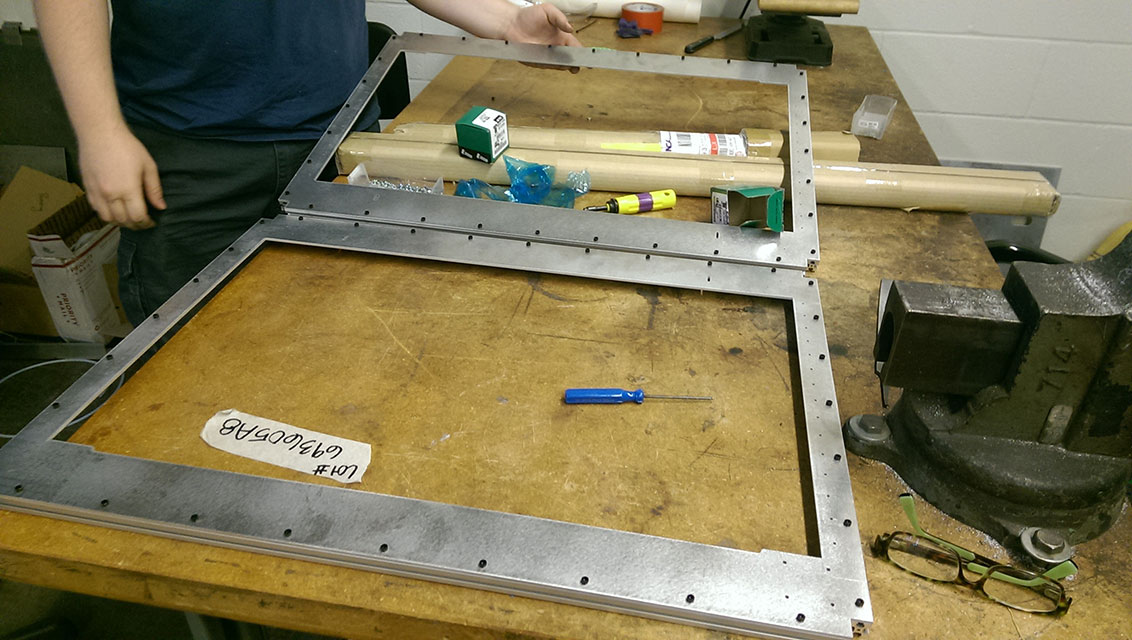
We screwed down the bottom plate as well, using our 3D model as a reference.
At this point, we realized that the black socket cap bolts we were using looked terrible… so we unscrewed everything and replaced them with sexy stainless steel button heads.

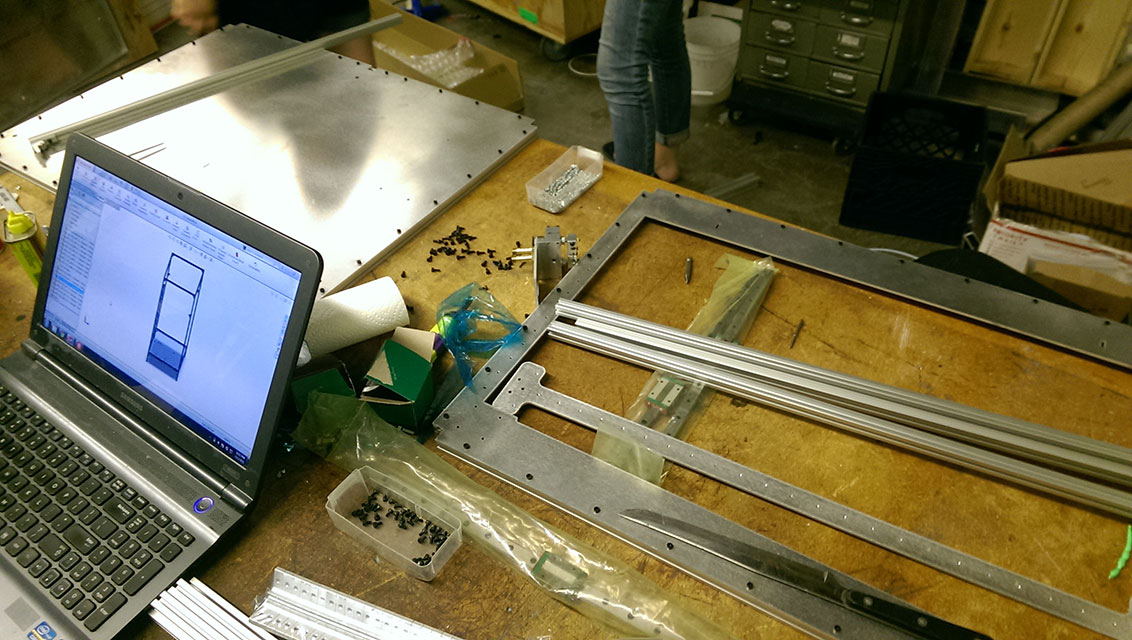
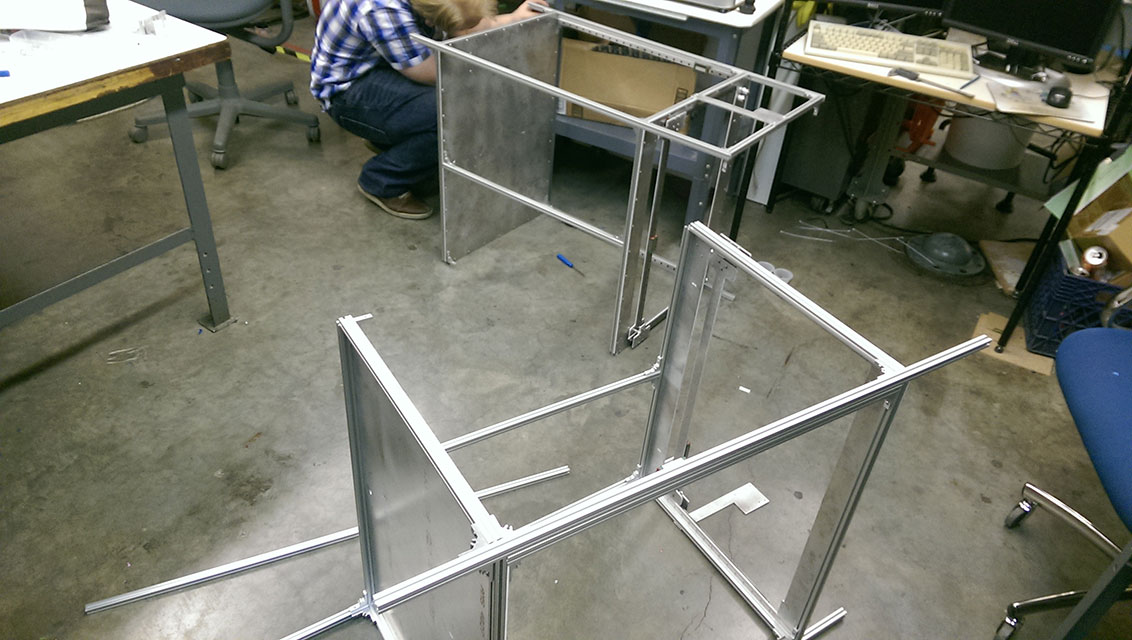
Next up was the internal supports…
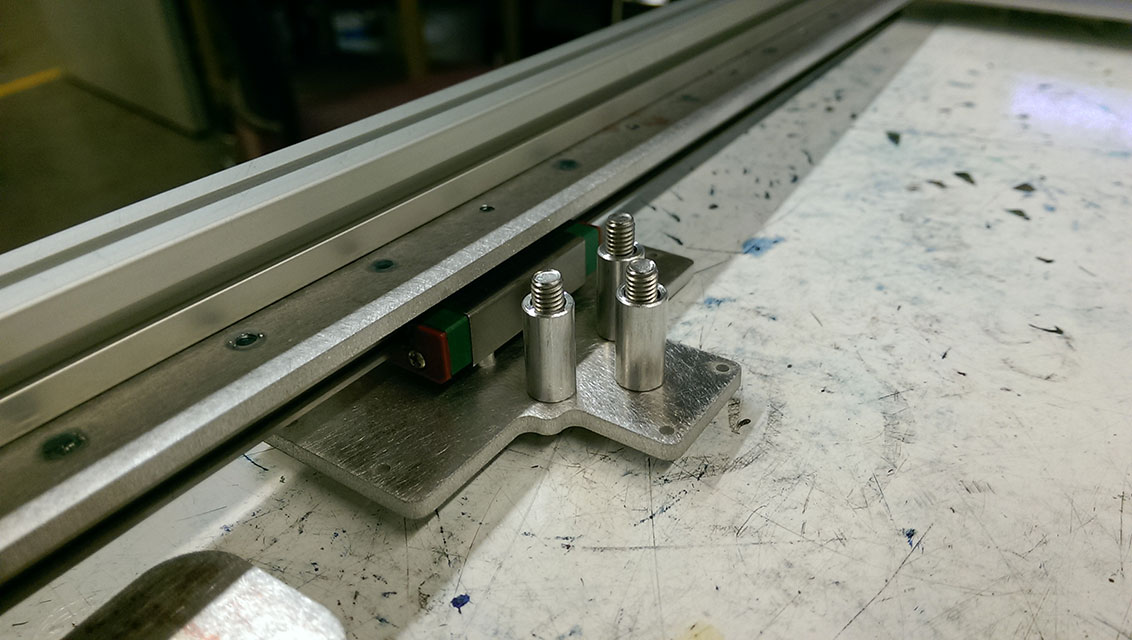
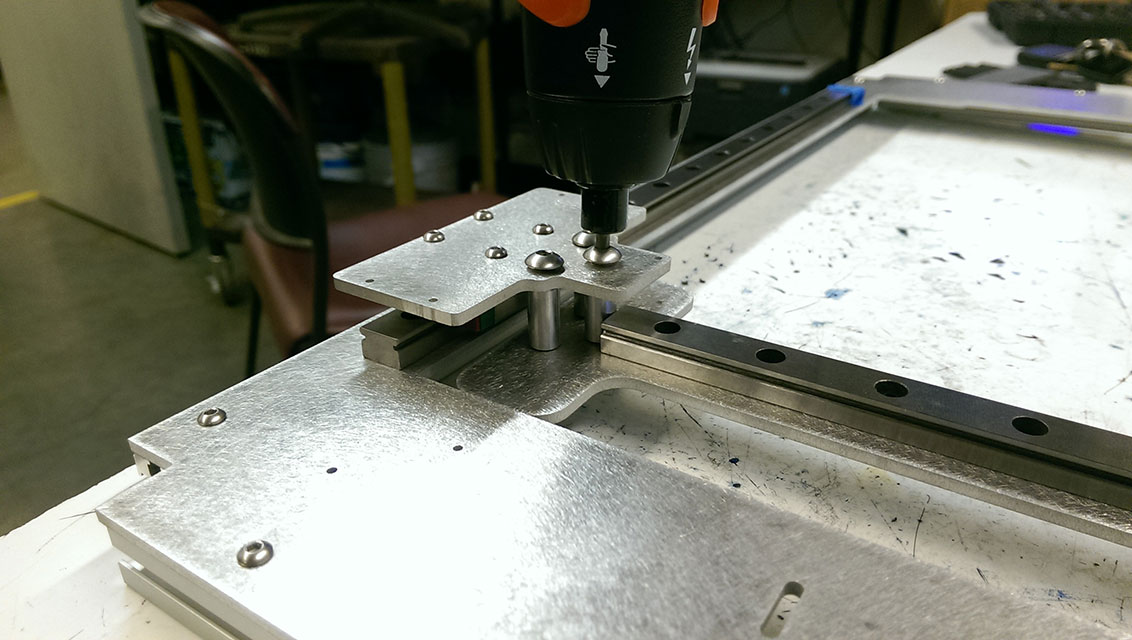
…And then we put on the linear rails.

Our X cross beam is connected to the Y carriages by three M5 screws.
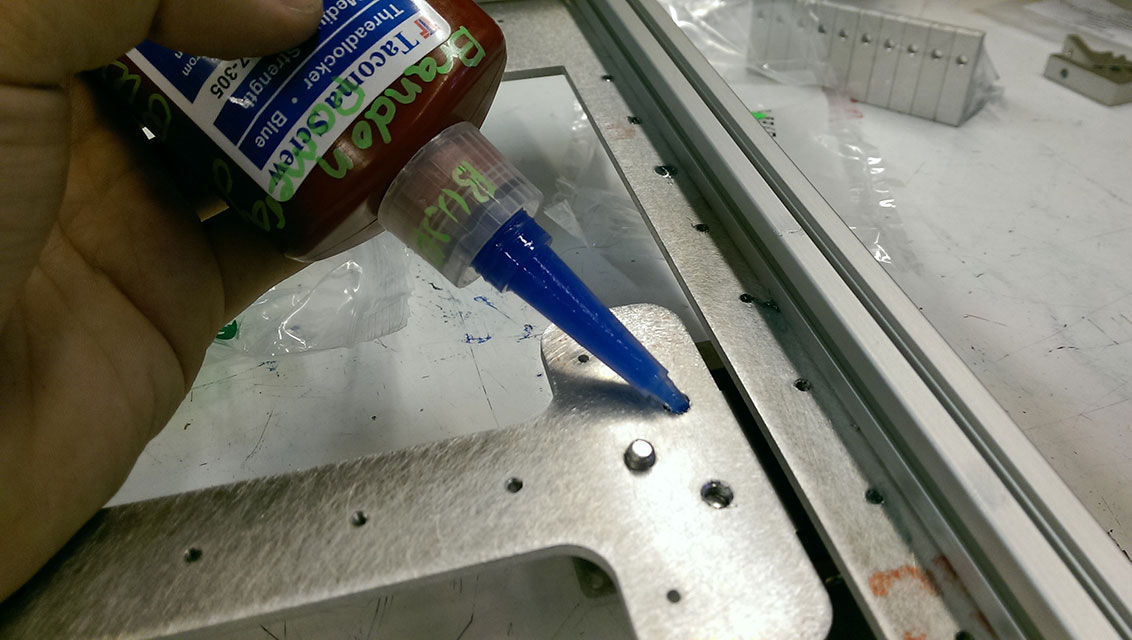
Any bolts that were subject to vibrations got a liberal helping of Loctite.
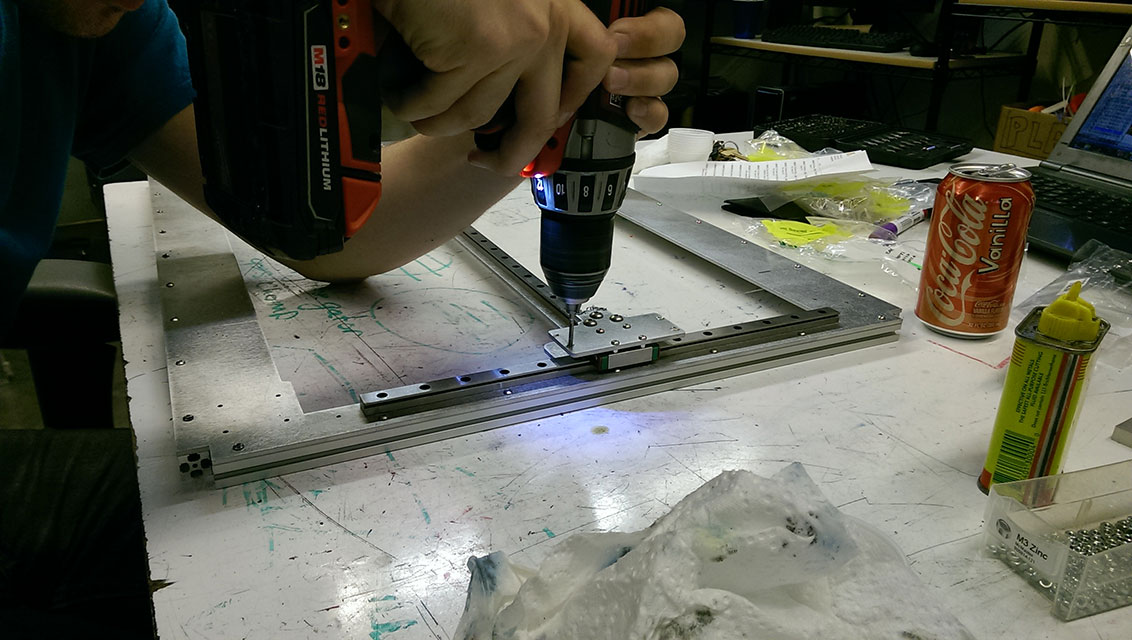
Tapping the holes for endstop boards and pulleys.
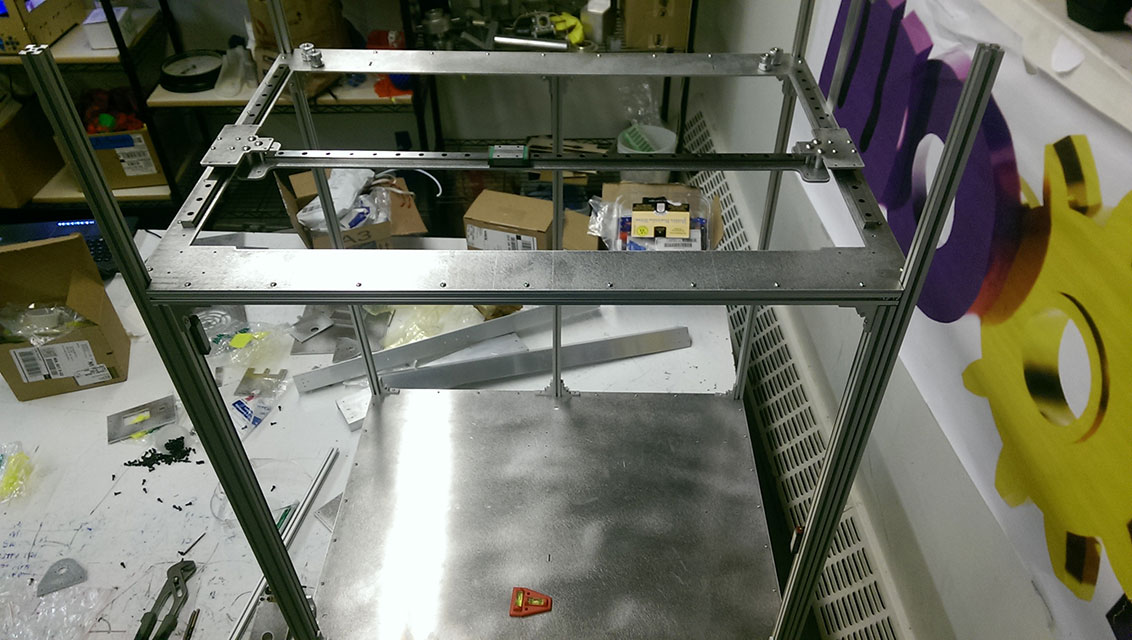
A completed gantry!

CoreXY designs rely on a lot of pulleys… We started with 8mm bore 20 tooth GT2 pulleys.
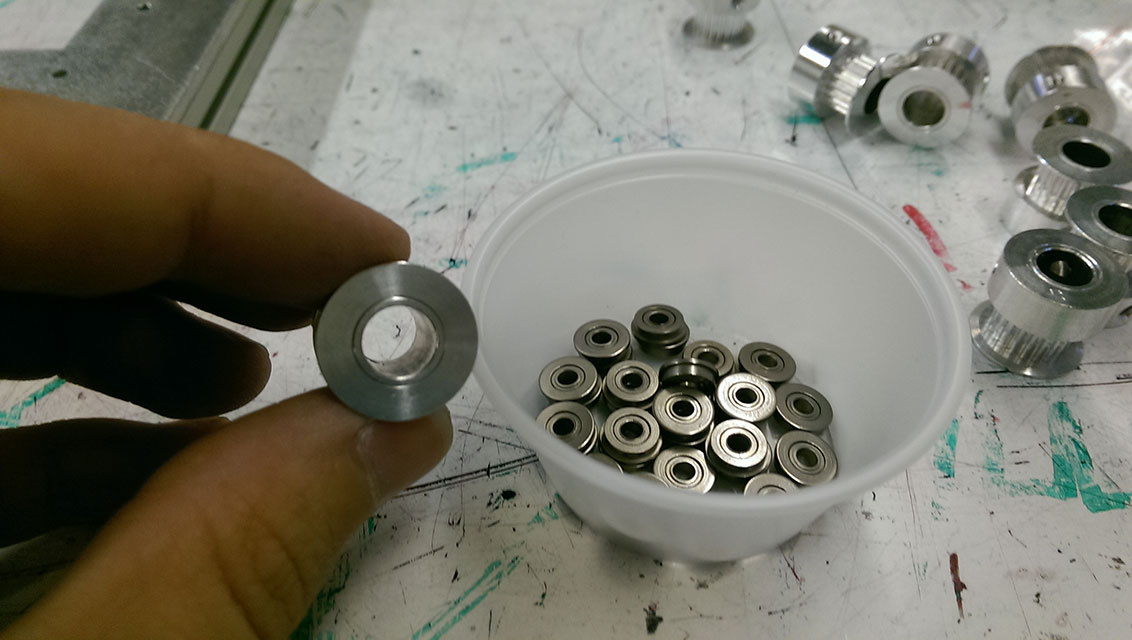
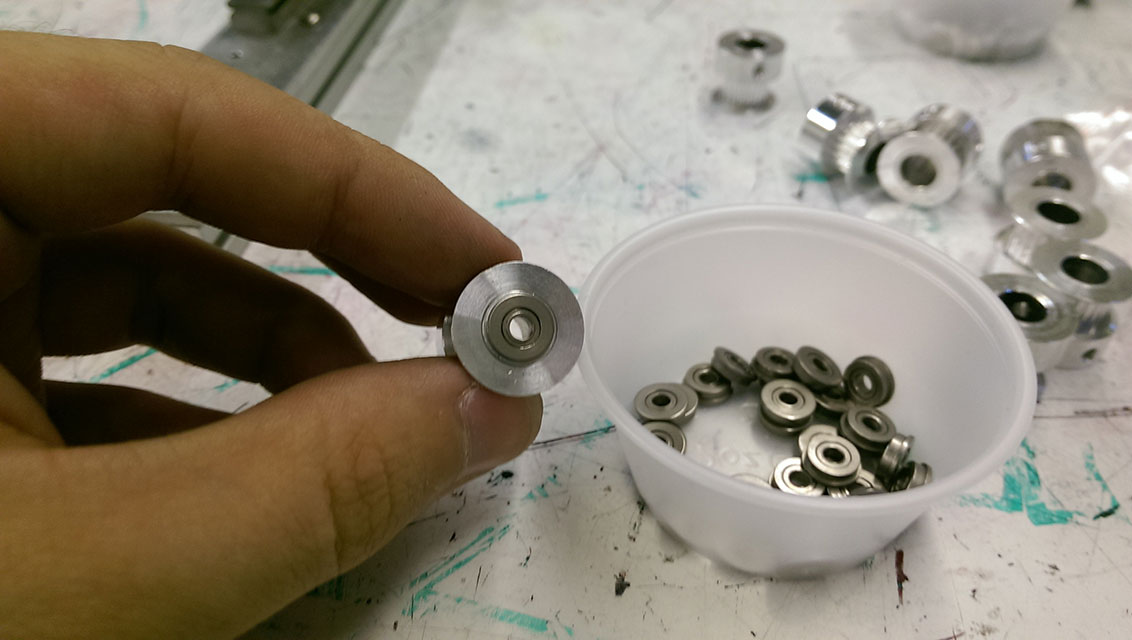
We then insert two MF83ZZ bearings into each pulley…
And finally a bolt goes through.
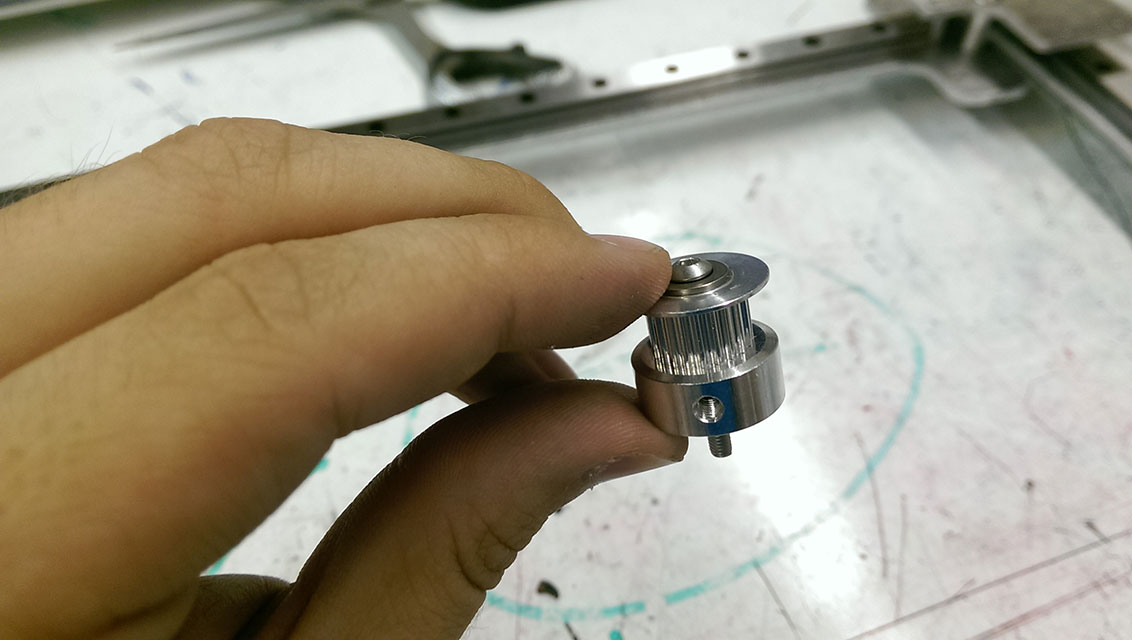
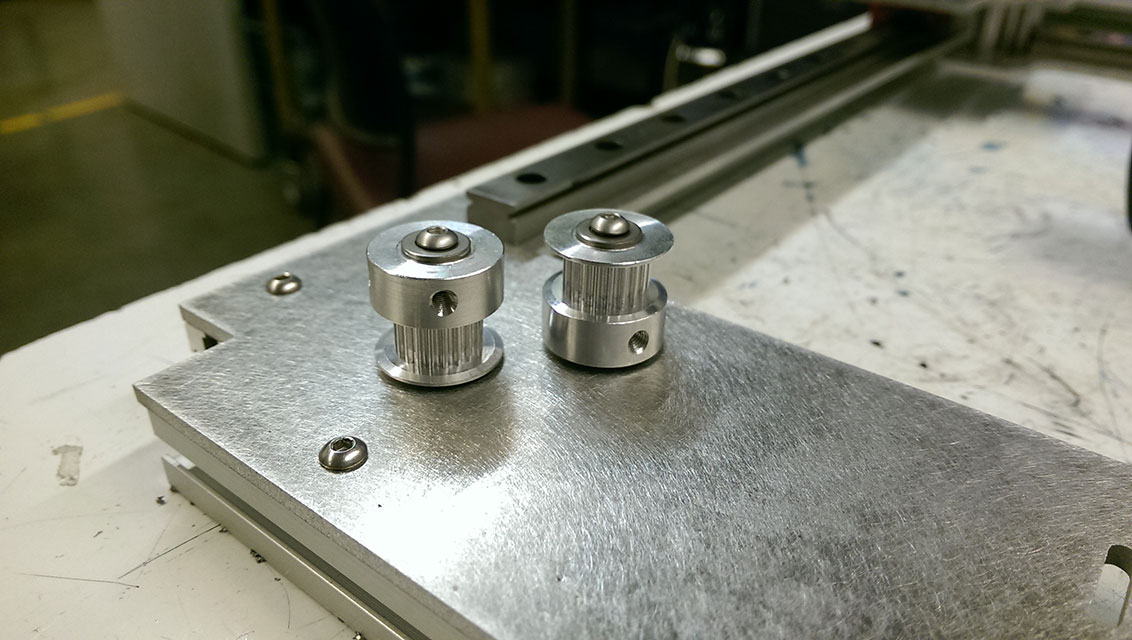
This pulley assembly gets screwed to the gantry frame.
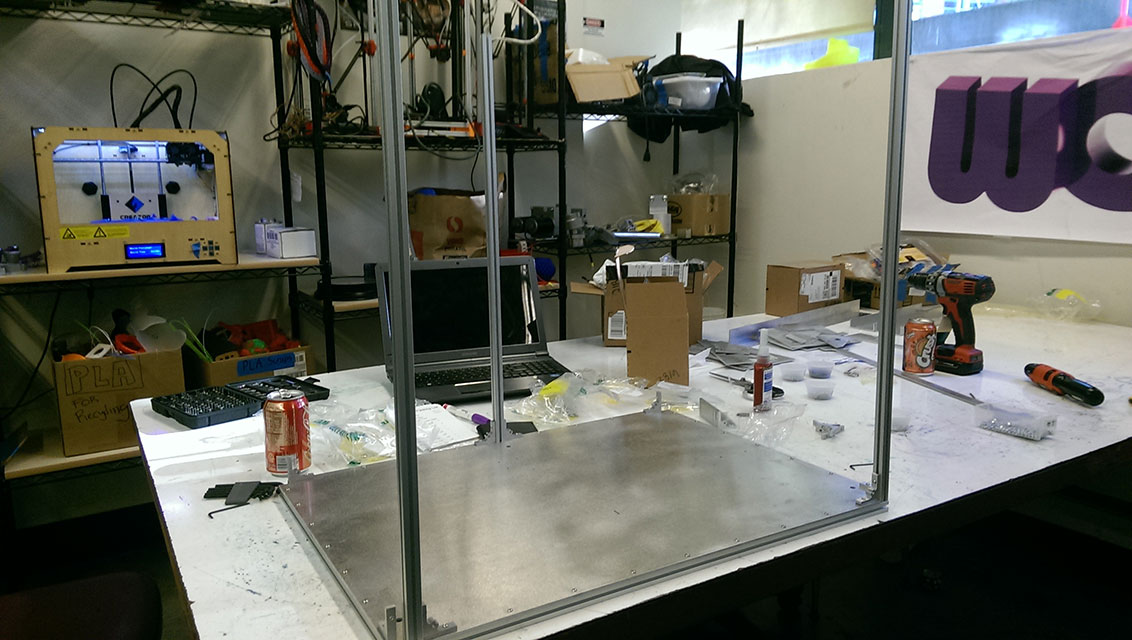
Moving on to the Z axis rails…
And both rails are on! We only use two rails and carriages for our Z axis. The third leadscrew is floating.
Now we attach the gantry to the rest of the frame.
And we finally get a look at our completed bot skeleton!
It’s hard to get a good size reference from the photos… so here’s ConfinedXY engulfing a MakerBot Replicator 2.
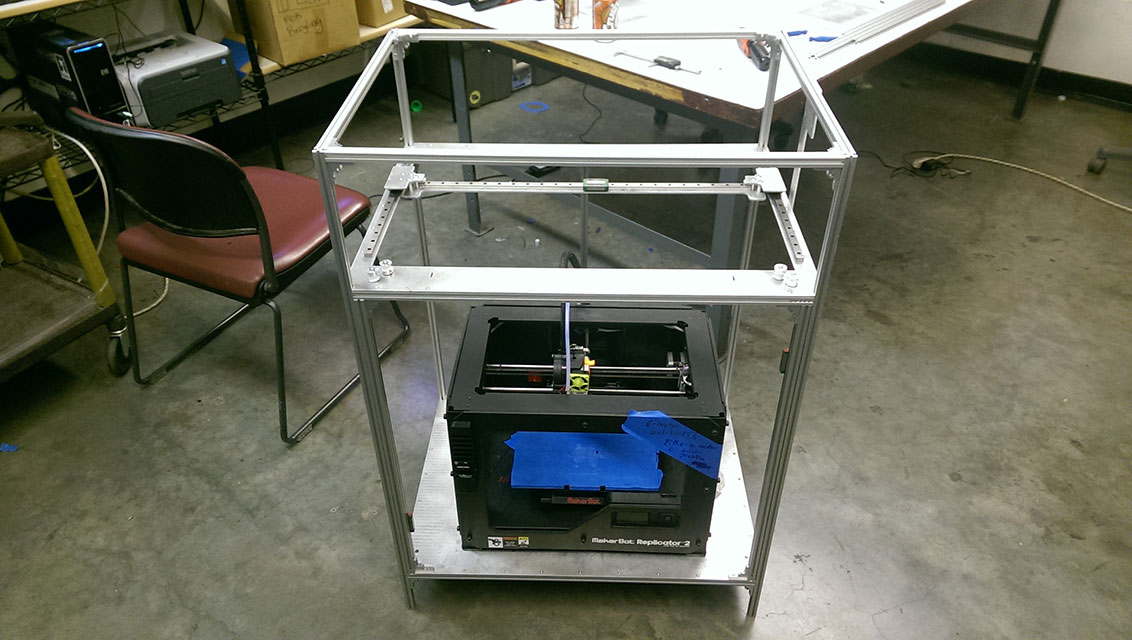
Not a bad build volume!
We’re waiting on a few more supplies before we move forward… stay tuned!
Let me know what you think of this article on twitter @AchillePomeroy or leave a comment below!