Mounting Electronics
The last post I made showed my bot's motors running off of another printer's electronics. Well, that's all about to change! Let's get to it!
The first electronics to think about are the endstops. More importantly, we have to think about endstop failure. Most Replicator/Replicator 2/Replicator 2X owners are familiar with the following wiring harness:

Because the X axis moves back and forth so often, those wires tend to break due to fatigue. When they do break, they can cause intermittent failure, which makes it difficult to reliably home the printer.
Rather than just have stranded wire jump from the endstop board to the MightyBoard, I whipped up these jumper boards, and had them fabbed at OSHPark.

They are super simple, and even tell you the part numbers of the connectors on the back.

What's special about these boards is connector C3 -- it's a Flat Flex Cable (FFC) connector. FFC are engineered for this exact situation, where there is going to be a lot of back and forth motion. You find it in desktop printers, laser cutters, and even MakerBot's new 5th Gens (One area of that bot where MakerBot didn't compromise!).
Unfortunately, the connectors are tiny.

When you solder surface mounts, a good flux pen is absolutely necessary.

The general idea is to put a small amount of flux on the pad, then tack down a single pin to hold the part in place, and then just blob on a ton of solder.

That doesn't look like it will work! But fear not...Simply apply a liberal helping of flux, and reheat the pads:

The flux wicks the solder onto the pads, and discourages solder bridges. Magic!
Through holes are a lot easier to solder up -- just dump heat and metal into the holes! Now we've got an easy to use adapter board for FFC!

We also worked on our stepper wiring harnesses. Thanks to the CoreXY design, all motors are stationary, so normal stranded wire can be used. It's best to braid your wire to prevent any interference.

After a few episodes of Better Off Ted, we had a set of stepper cables!

I'm going to digress a bit here to complain about MakerBot's terrible decision making on the stepper motor connectors. Look at these ridiculous beasts (The pins aren't pushed all the way in yet).

The pins and connectors used are for 18-20 gauge wire, but stepper wires are often in the 22-24 gauge size. This makes the crimps ugly and not as strong as they should be. I don't know why MakerBot originally did this... but when the stepper pins are bigger than the power supply pins (WTF?!), something is wrong.
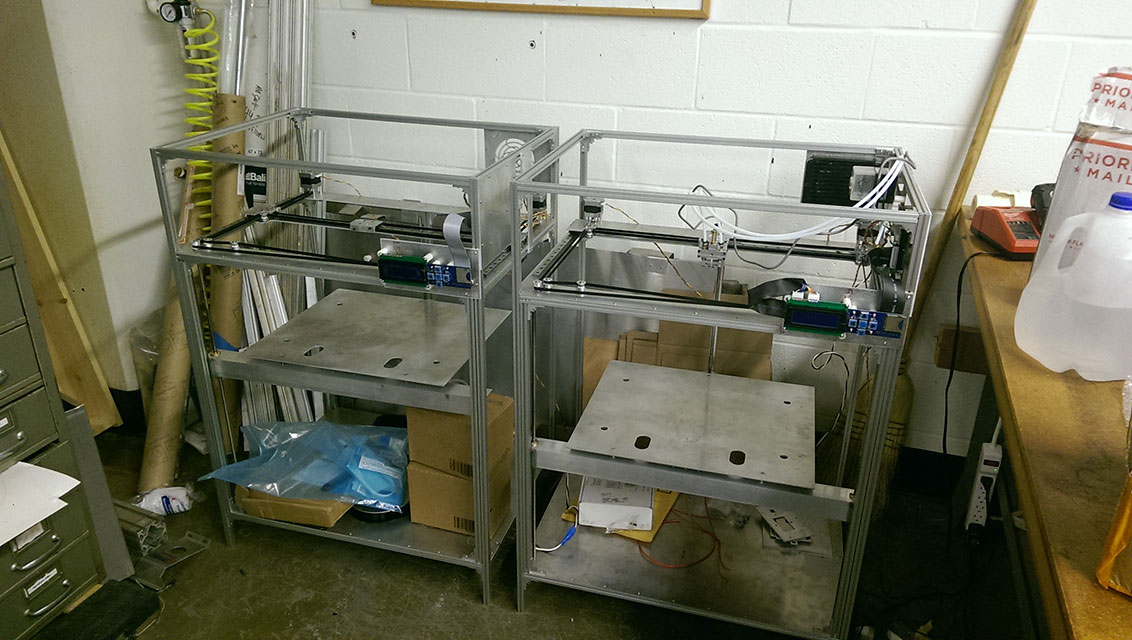
Anyways, all that aside, we also mounted up the MightyBoard and the LCD screen.


It's starting to look and feel like an actual 3D printer! The power supply and plug still needs to be mounted, the firmware needs to be customized for our settings, and there is a ways to go on the extruder and HBP, but still... It feels good to see it all coming together.
Beautiful.
Let me know what you think of this article on twitter @AchillePomeroy or leave a comment below!