Belts and a Z-Axis
Things are starting to move! Let's kick this post off with some sweet videos.
Here's a quick video of the Z axis moving:
And now for the gantry:
Let's break it down.
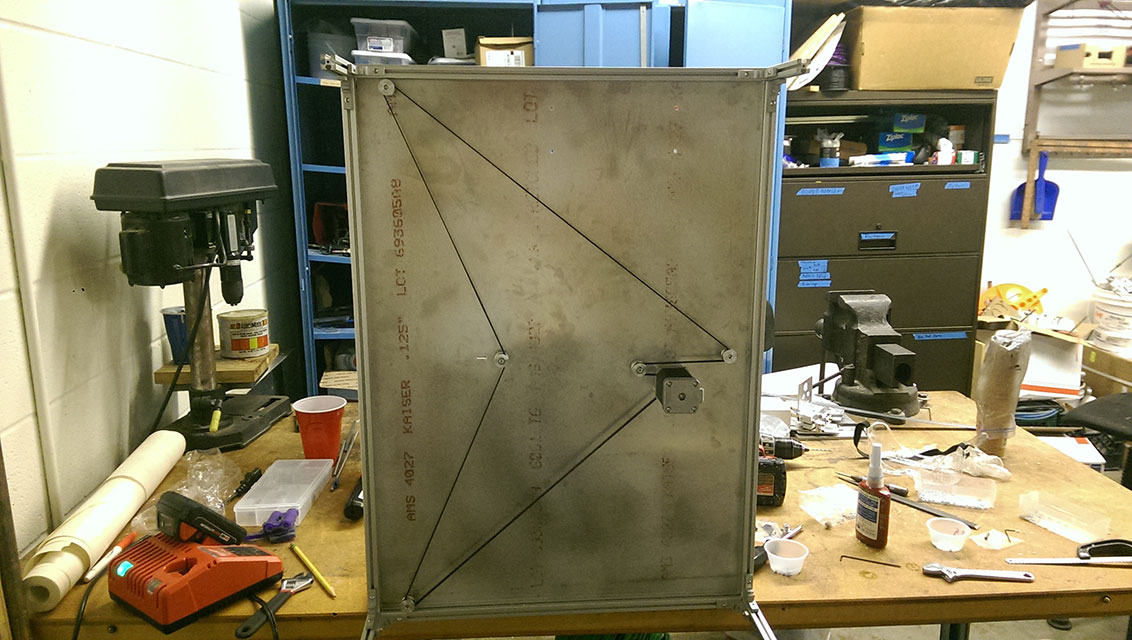
Z Axis
We chose to use a triple leadscrew Z stage, like the one on this thing. Cantilevered Z stages (like the one found on the Replicator 2) don't scale to large bots very well, due to flex in the bearings. Two of the leadscrews are constrained with linear rails, and the third leadscrew is "floating". The leadscrews are driven by a single motor, connected with a continuous GT2 belt.
We're using the belt arrangement found in this Google Groups post. The more belt teeth that engage each pulley, the smaller the chance that the belt will jump. We want this, since it'd be really quite good for the three leadscrews to stay in sync!
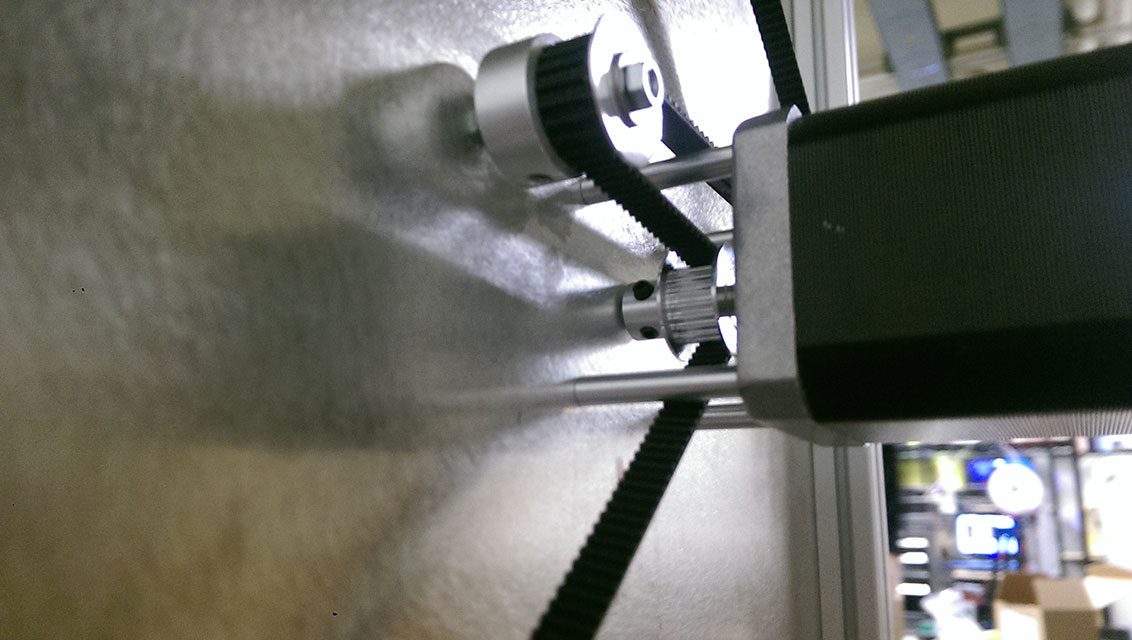
Some of these tolerances are pretty tight, but it was all planned out. Having the belt path calculated automatically was quite helpful.
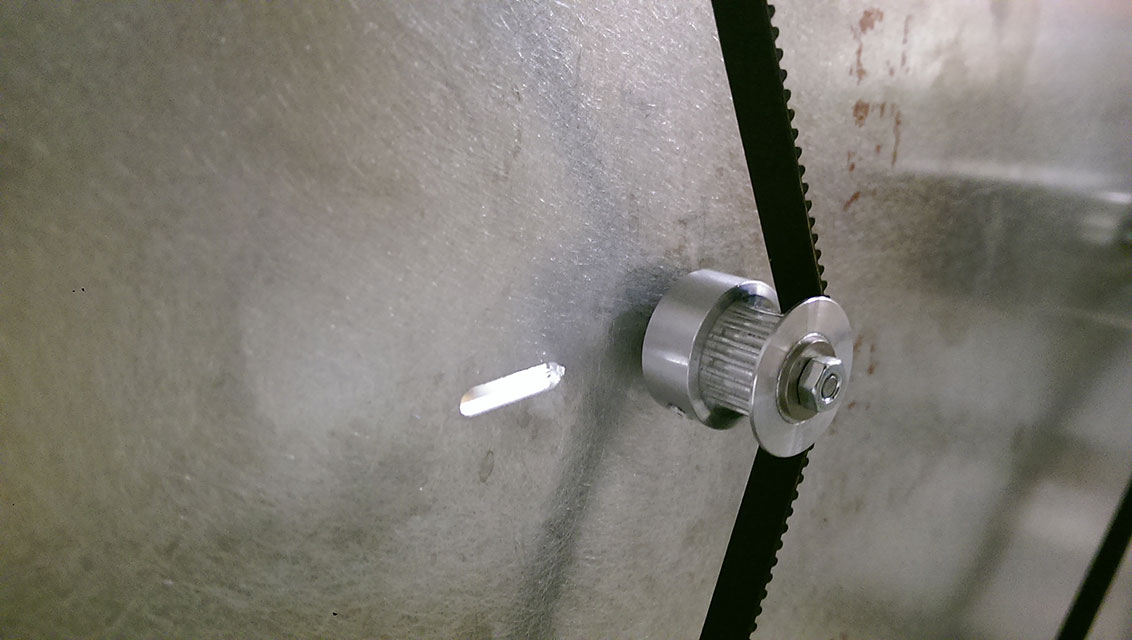
Unfortunately, the belt's length is just a little bit off. I'm not sure where the error actually happened (Did I make a mistake in the software, in the ordering process, or was the belt elasticity more than we anticipated?), but our slot that was supposed to be for tensioning was completely useless. I was planning on drilling a bunch of holes and then filing them down to make a longer slot, but it turned out that the first hole I drilled gave me the perfect tension on the belt. I'll take it!
X and Y
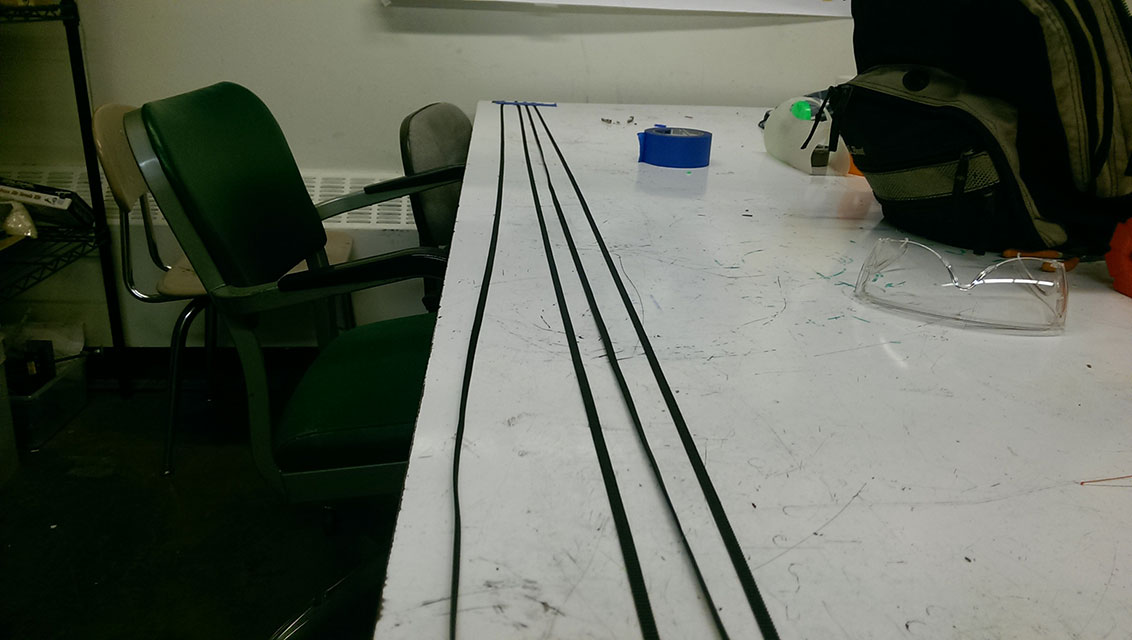
First thing to do was to measure and cut the correct lengths of belts. We calculated the length required in Solidworks, which turned out to be around 7 feet.
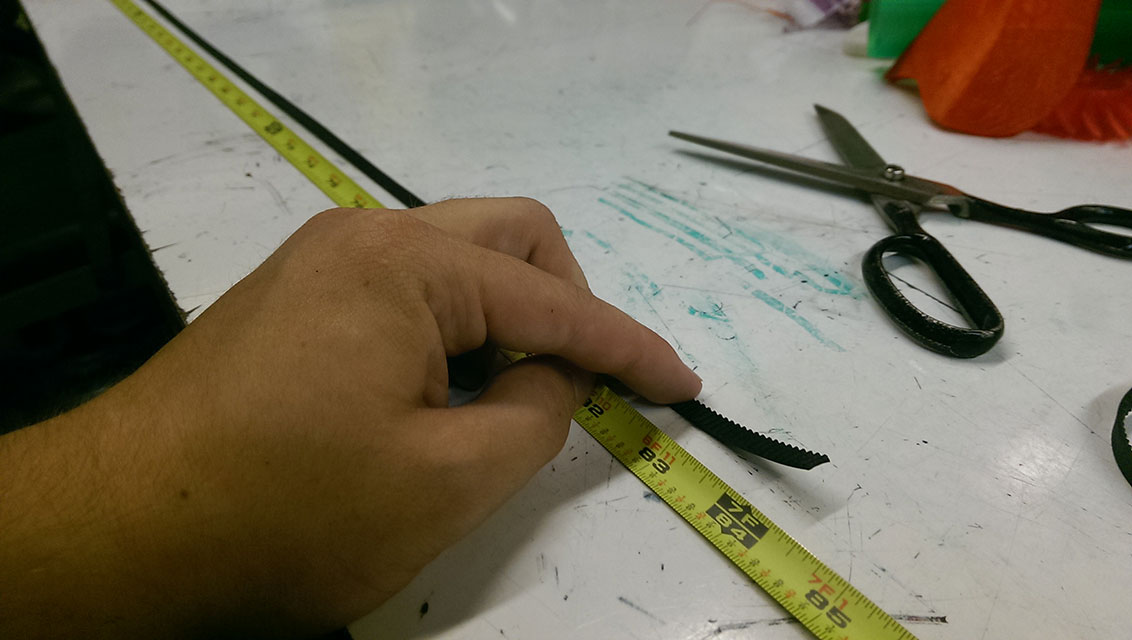
Each bot takes twp lengths of belts, and since we're building a total of two bots, that's four lengths of belt. Math is rad.
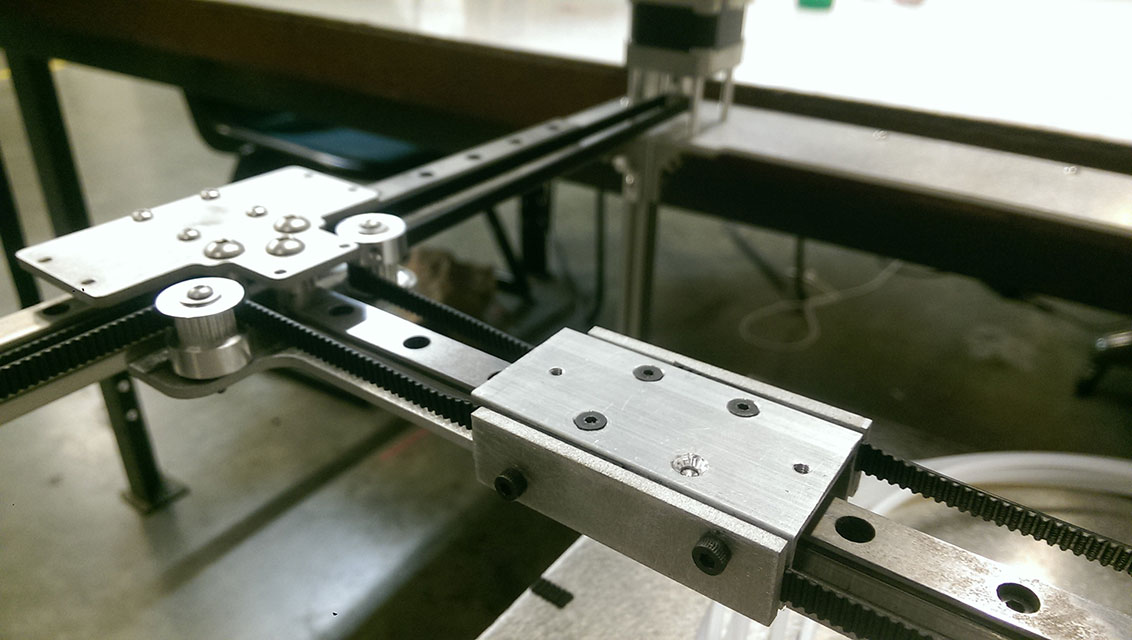
The extruder carriage was bolted to the linear rail's carriage, and the belt clamp was loosely affixed. The belt clamp is just a water jet piece of aluminum, nothing fancy.
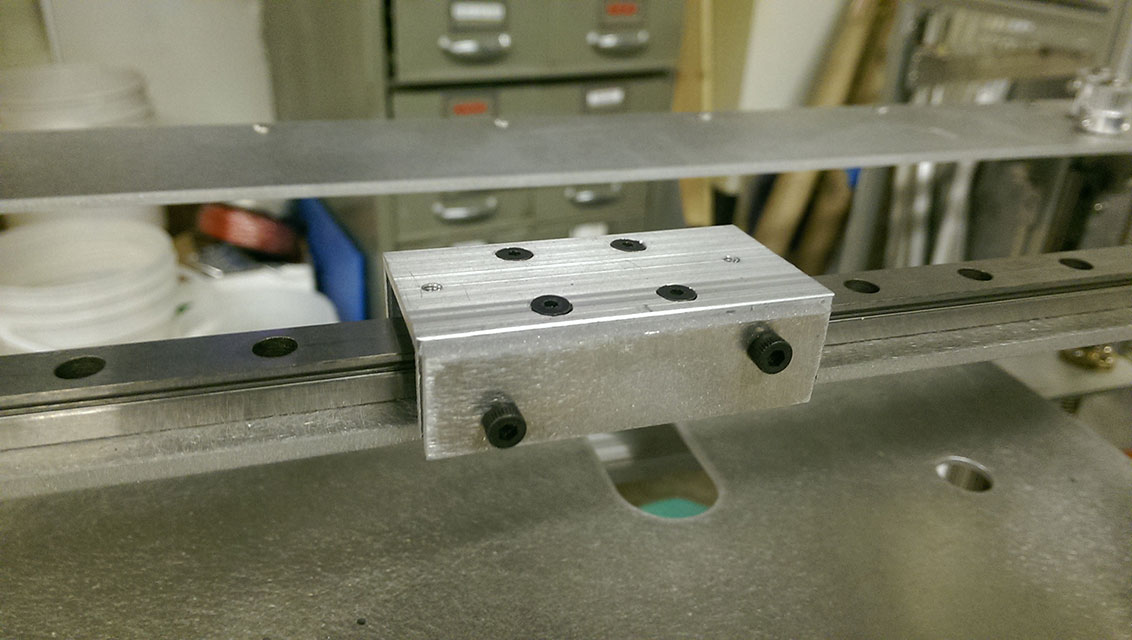
Because of the nature of the CoreXY gantry system, the belts are not co-planar. The bolts are arranged at opposite corners of the clamp to allow the belts to slide in either above or below them.
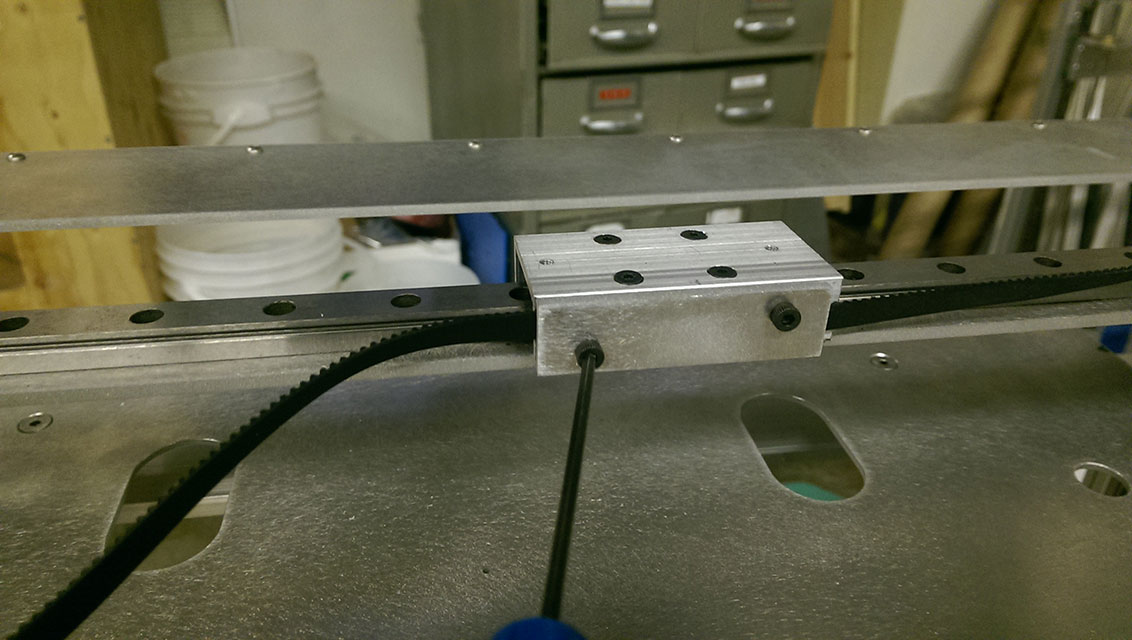
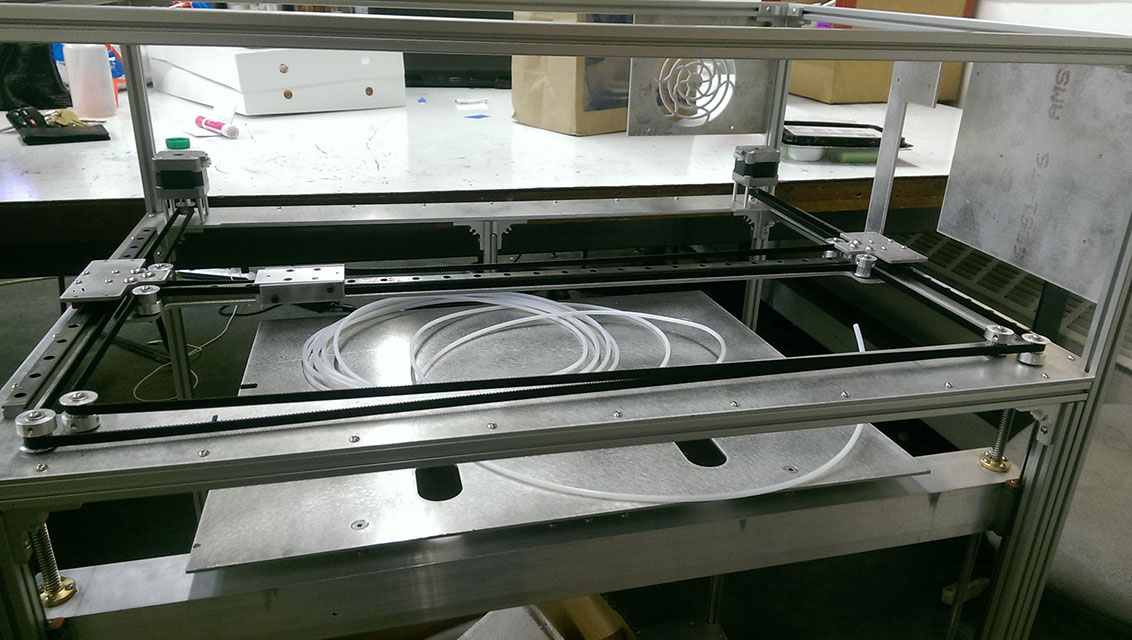
Next the belts were wrapped around the gantry. Seven feet of belt sure gets used up fast!
Then the other side is tightened and clamped into place.
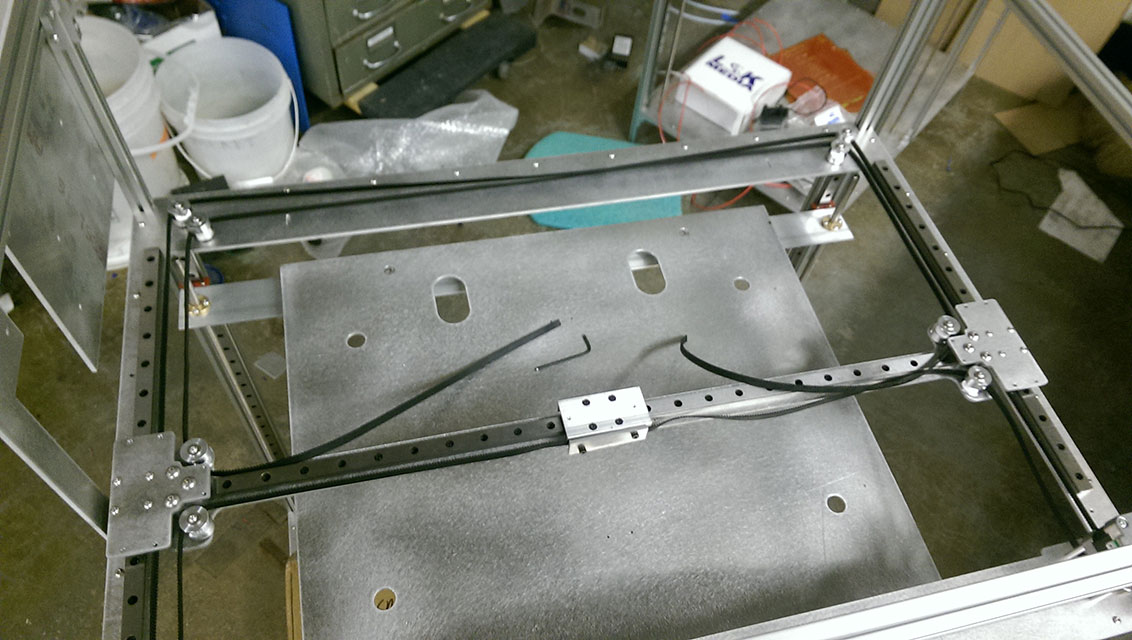
Looking good!
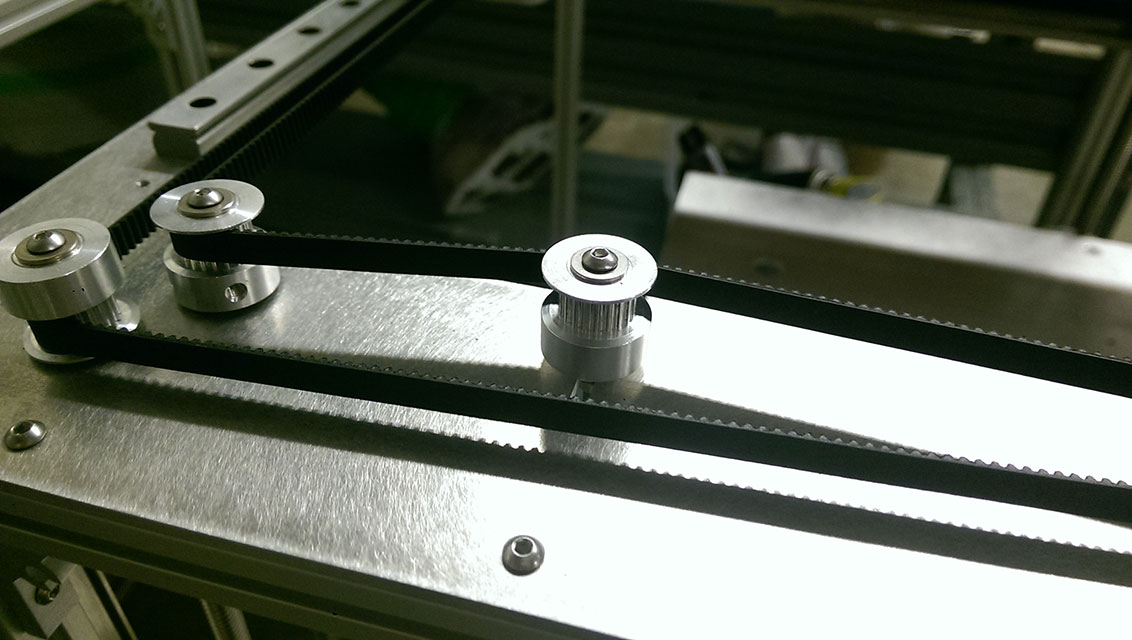
We pulled the belts as tight as we could when we initially clamped them down, but it's always nice to be able to add just a bit more tension. An extra idler for each belt did the trick.
This bot is getting close to working! To make the videos at the top of this post, we plugged the motors into another bot's RAMPs 1.4 board. We're still waiting on some items from Digikey (Endstop wires and MightyBoard connectors) before it can move on its own. Stay tuned!
Let me know what you think of this article on twitter @AchillePomeroy or leave a comment below!